Collectibles hub | Updated August 1, 2026
Halo: Campaign Evolved Collectibles Guide
Use this as the mission map for every Skull and Terminal route. The detailed checklist is one click away, and each mission has its own focused page.
- Missions
- 13 Focused routes
- Skulls
- 42 39 hidden + 3 automatic
- Terminals
- 13 One per mission
- Checklist
- 52 All collectible locations
Visual route atlas
Pick the mission by the view you recognize.
Use the location frames when the room, canyon, or corridor is easier to recognize than the mission name.
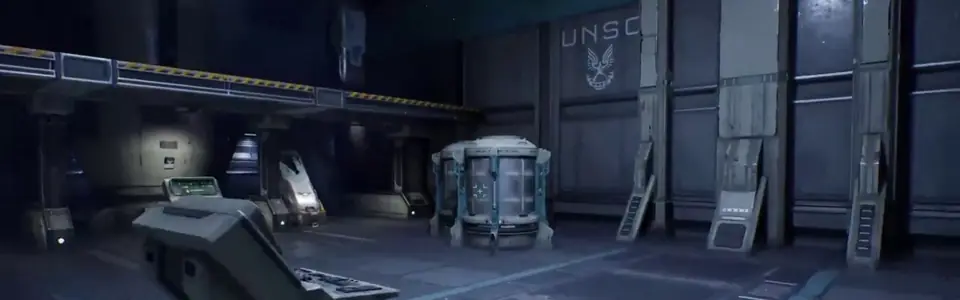 Mission 01 | 3 Skulls + 1 TerminalThe Pillar of AutumnInterior detour / Terminal scan
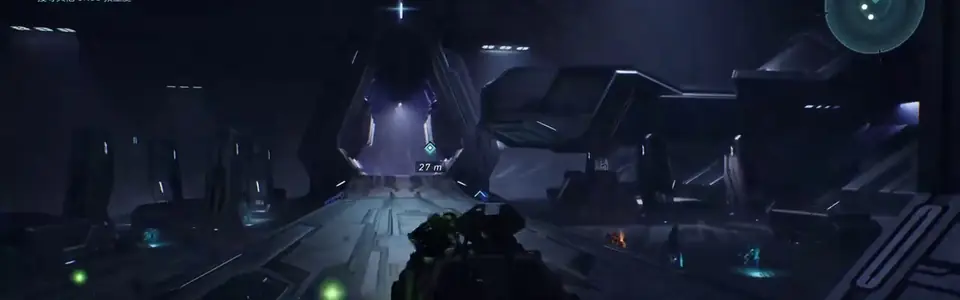 Mission 02 | 3 Skulls + 1 TerminalHaloTerminal scan / Grenade jump / Combat detour
 Mission 03 | 3 Skulls + 1 TerminalThe Truth and ReconciliationCombat detour / Vehicle route / Interior detour
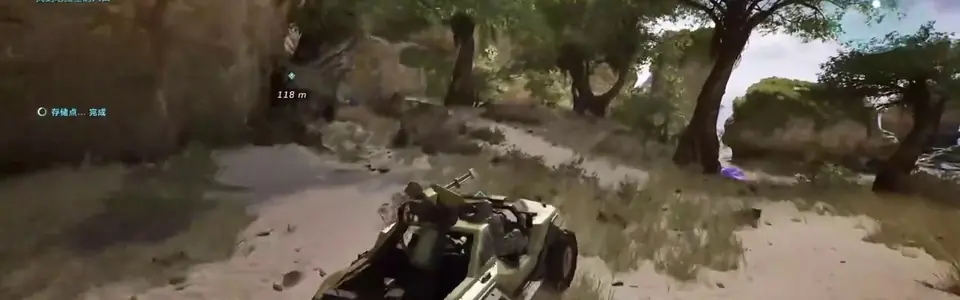 Mission 04 | 3 Skulls + 1 TerminalThe Silent CartographerCombat detour / Vehicle route / Terminal scan
 Mission 05 | 3 Skulls + 1 TerminalAssault on the Control RoomInterior detour / Terminal scan / Combat detour
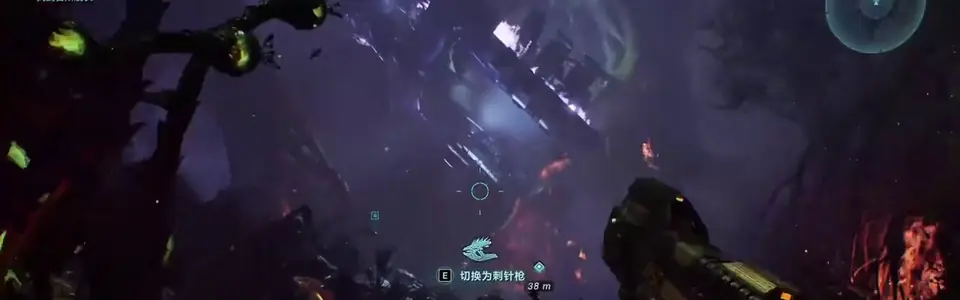 Mission 06 | 3 Skulls + 1 Terminal343 Guilty SparkTraversal / Combat detour / Terminal scan
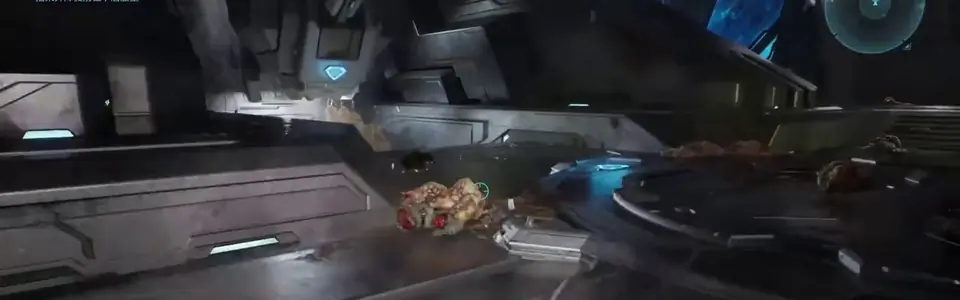 Mission 07 | 3 Skulls + 1 TerminalThe LibraryInterior detour / Traversal / Terminal scan
 Mission 08 | 3 Skulls + 1 TerminalTwo BetrayalsTerminal scan / Vehicle route / Interior detour
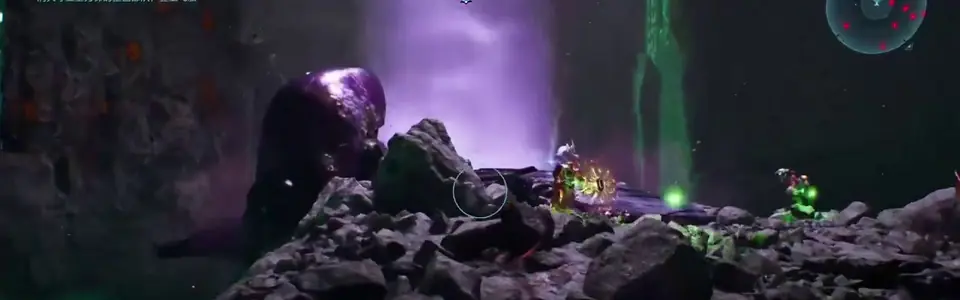 Mission 09 | 3 Skulls + 1 TerminalKeyesCombat detour / Interior detour / Terminal scan
 Mission 10 | 3 Skulls + 1 TerminalThe MawTerminal scan / Interior detour / Traversal
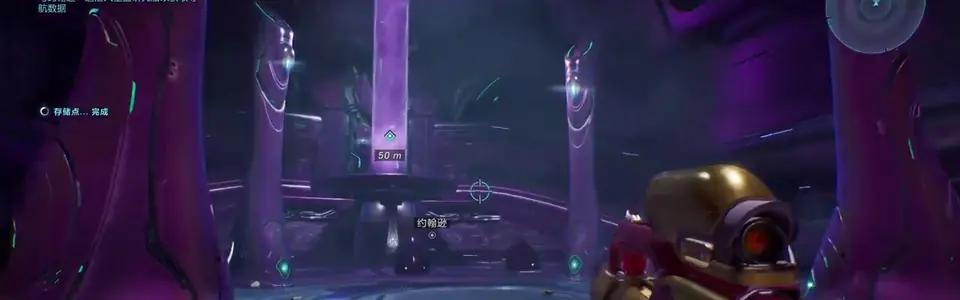 Mission 11 | 3 Skulls + 1 TerminalBoarding ActionInterior detour / Terminal scan
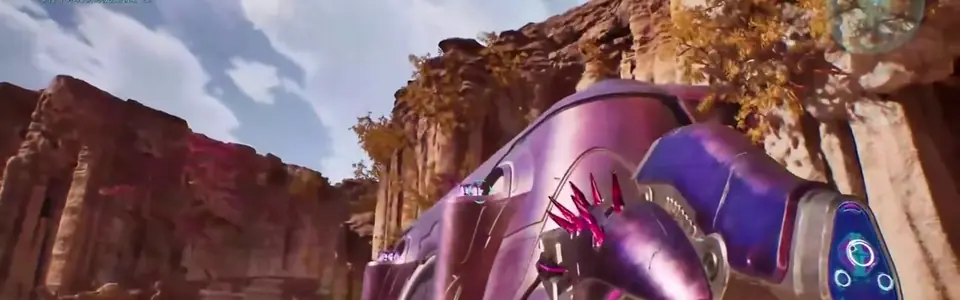 Mission 12 | 3 Skulls + 1 TerminalThe Most Dangerous GameInterior detour / Terminal scan / Combat detour
 Mission 13 | 3 Skulls + 1 TerminalHeavy BurdenInterior detour / Terminal scan / Traversal
Cleanup plan
Clean up safely before quitting.
Most collectible pages show locations; this plan covers the part that causes lost progress and replay time.
- Reach a checkpointAfter collecting a Skull or Terminal, continue until the next reliable checkpoint before quitting or changing platforms.
- Use mission selectMissed pickups can be cleaned up later. Open the mission route, jump to the nearest rally point when available, and follow only the remaining entries.
- Track by nameIf the game menu does not show a chapter-by-chapter tracker, compare the collectible names on this page with the names already unlocked in your profile.
- Confirm co-op creditIn co-op, have the progression owner lead the fireteam and verify the pickup registers before leaving the session.
Quick table
All locations at a glance.
Compare every collectible by mission, route type, risk level, and effect before you jump into a route.
| Collectible | Mission | Route type | Care | Effect / note |
|---|---|---|---|---|
| Speed LimitSkull | 01 - The Pillar of Autumn | Interior detour | Moderate | Sprint is disabled. |
| MagnifiedSkull | 01 - The Pillar of Autumn | Interior detour | Quick | The Assault Rifle uses 60-round magazines. |
| PerspectiveSkull | 01 - The Pillar of Autumn | Interior detour | Quick | The camera switches to third person. |
| ApproachTerminal | 01 - The Pillar of Autumn | Terminal scan | Quick | Lore terminal |
| ForgottenTerminal | 02 - Halo | Terminal scan | Moderate | Lore terminal |
| Grunt FuneralSkull | 02 - Halo | Grenade jump | High care | Grunts die in a burst of plasma. |
| Give & TakeSkull | 02 - Halo | Combat detour | Quick | Firing drains shields; damaging enemies restores them. |
| Floor is LavaSkull | 02 - Halo | Traversal | High care | Touching the ground causes continuous damage. |
| IronSkull | 03 - The Truth and Reconciliation | Combat detour | High care | A solo death restarts the level; a co-op death returns the team to its last checkpoint. |
| Endurance SpecSkull | 03 - The Truth and Reconciliation | Vehicle route | Moderate | UNSC vehicles cannot be damaged. |
| ForeignSkull | 03 - The Truth and Reconciliation | Interior detour | Quick | Players cannot use weapons from another faction. |
| InquisitorTerminal | 03 - The Truth and Reconciliation | Terminal scan | Quick | Lore terminal |
| BandanaSkull | 04 - The Silent Cartographer | Combat detour | Moderate | Ammo and grenades are unlimited. |
| AcrophobiaSkull | 04 - The Silent Cartographer | Vehicle route | Moderate | Allows the player to fly. |
| Status UpdateTerminal | 04 - The Silent Cartographer | Terminal scan | Quick | Lore terminal |
| Hip FireSkull | 04 - The Silent Cartographer | Interior detour | Moderate | Weapon zoom is disabled. |
| IWHBYDSkull | 05 - Assault on the Control Room | Interior detour | Moderate | Changes combat dialogue. |
| Tangent ITerminal | 05 - Assault on the Control Room | Terminal scan | Quick | Lore terminal |
| AngrySkull | 05 - Assault on the Control Room | Combat detour | Quick | Enemies fire their weapons faster and more frequently. |
| CowbellSkull | 05 - Assault on the Control Room | Vehicle route | High care | Objects have less mass and are displaced more easily. |
| FogSkull | 06 - 343 Guilty Spark | Traversal | Moderate | The motion tracker is disabled. |
| That's Just... WrongSkull | 06 - 343 Guilty Spark | Combat detour | Quick | Enemies have increased awareness of the player. |
| Tangent IITerminal | 06 - 343 Guilty Spark | Terminal scan | Moderate | Lore terminal |
| They Come BackSkull | 06 - 343 Guilty Spark | Interior detour | Moderate | Flood Combat Forms revived by Infection Forms become more dangerous. |
| TiltSkull | 07 - The Library | Interior detour | Moderate | Positive and negative damage multipliers are both amplified. |
| PopSkull | 07 - The Library | Traversal | Moderate | Shooting a Flood weak point makes it explode. |
| Tangent IIITerminal | 07 - The Library | Terminal scan | Quick | Lore terminal |
| FamineSkull | 07 - The Library | Combat detour | Quick | Weapons dropped by enemies contain half their normal ammo. |
| AloneTerminal | 08 - Two Betrayals | Terminal scan | Quick | Lore terminal |
| Tough LuckSkull | 08 - Two Betrayals | Vehicle route | High care | Enemies go berserk, dodge constantly, and never flee. |
| Black EyeSkull | 08 - Two Betrayals | Interior detour | Quick | Shields recharge only when you melee enemies. |
| MythicSkull | 08 - Two Betrayals | Vehicle route | Quick | Enemies have increased health. |
| CatchSkull | 09 - Keyes | Combat detour | Quick | Enemies throw and drop more grenades. |
| BlindSkull | 09 - Keyes | Interior detour | Moderate | The HUD and weapons do not appear on screen. |
| ConsumedTerminal | 09 - Keyes | Terminal scan | Quick | Lore terminal |
| PiñataSkull | 09 - Keyes | Combat detour | Quick | Melee hits make enemies drop inert grenades. |
| ArrivalTerminal | 10 - The Maw | Terminal scan | Quick | Lore terminal |
| Stowed ReloadSkull | 10 - The Maw | Interior detour | Moderate | Weapons continue reloading while stowed. |
| BoomSkull | 10 - The Maw | Traversal | Moderate | Explosion radius is doubled. |
| ThunderstormSkull | 10 - The Maw | Combat detour | Quick | Most enemies are upgraded to a higher rank. |
| MalfunctionSkull | 11 - Boarding Action | Interior detour | Quick | After respawning, a random part of the HUD disappears. |
| Johnny Ammo SeedSkull | 11 - Boarding Action | Interior detour | Quick | Reloading discards the ammunition left in the removed magazine. |
| LeadheadSkull | 11 - Boarding Action | Interior detour | Moderate | Headshots no longer deal bonus damage or cause instant kills. |
| The PathTerminal | 11 - Boarding Action | Terminal scan | Quick | Lore terminal |
| RecessionSkull | 12 - The Most Dangerous Game | Interior detour | Quick | Every shot consumes twice the normal amount of ammo. |
| Penitent ReportTerminal | 12 - The Most Dangerous Game | Terminal scan | Quick | Lore terminal |
| TemperamentalSkull | 12 - The Most Dangerous Game | Combat detour | Quick | Allies turn hostile more quickly after friendly kills. |
| GhostSkull | 12 - The Most Dangerous Game | Interior detour | Moderate | Enemies no longer flinch when hit. |
| Eye PatchSkull | 13 - Heavy Burden | Interior detour | Quick | Auto-aim is disabled for every weapon. |
| Harmonious ClarityTerminal | 13 - Heavy Burden | Terminal scan | Quick | Lore terminal |
| Grunt Birthday PartySkull | 13 - Heavy Burden | Traversal | Moderate | Grunt headshots trigger a celebration. |
| EfficientSkull | 13 - Heavy Burden | Traversal | Moderate | Enemies killed while you are at full health drop more ammo. |
Mission routes
Open the route that matches the mission you are on.
Verification desk
Routes and counts are checked against released-game sources.
The mission hub points into the detailed checklist page. Official Halo sources set the collectible names and unlock rules, and the mission pages preserve the route order players actually need.
Frequently asked questions
What is on this page?
A mission index for all 13 collectible routes, plus links into the full checklist page and each mission-specific guide.
Should I start here or on the full checklist?
Start here if you want the route map. Open the full checklist page when you want every pickup in one scrollable list.
Does this replace the skull checklist?
No. It complements the checklist by giving each mission its own entry page.