Mission 06 collectibles | Updated August 1, 2026
343 Guilty Spark Skulls & Terminal
Use this focused route for all 4 collectible locations in 343 Guilty Spark: 3 hidden Skulls and the Tangent II Terminal.
- Mission
- 06 343 Guilty Spark
- Skulls
- 3 Fog, That's Just... Wrong, They Come Back
- Terminal
- 1 Tangent II
- Checklist
- 4 Saved on this device
- First stop
- Fog Skull
- Last stop
- They Come Back Skull
- Route style
- Traversal / Combat detour / Terminal scan
- Most careful pickup
- Fog - Moderate
Pickup order
Follow these four stops in mission flow.
Open a stop to jump straight to its route, image, and checklist control.
Visual route atlas
Match each stop by sight.
Preview the route landmarks before opening each detailed pickup card.
Walkthrough timeline
Four stops, image first.
A compact walkthrough lane for players who want the next landmark before the full card.
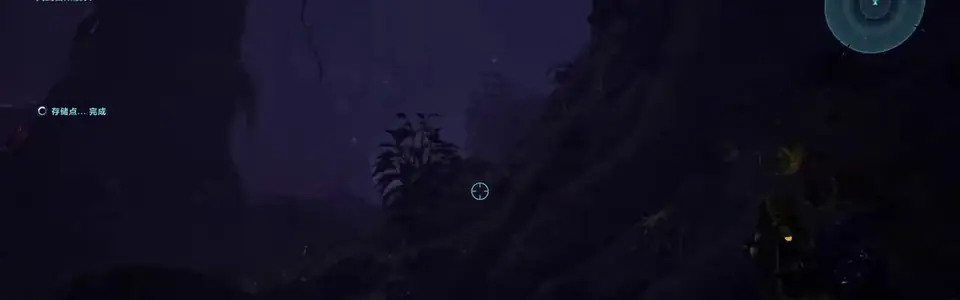
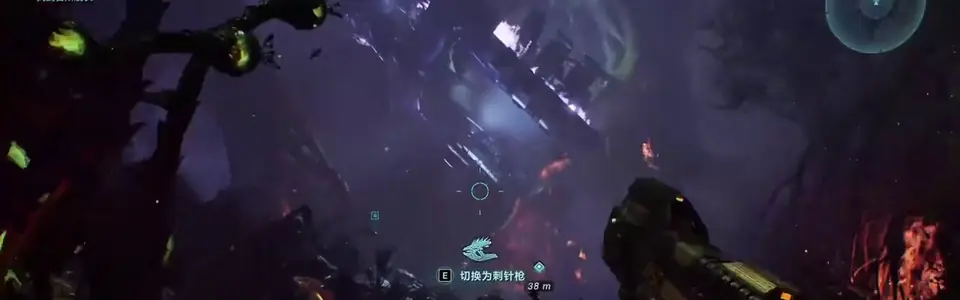 Step 01 | Traversal | ModerateFog SkullNear the suspended, wrecked Covenant dropship early in the mission, climb the slope on its left. Pass the large tree, scramble onto the rocks on the right, and check the ground above.
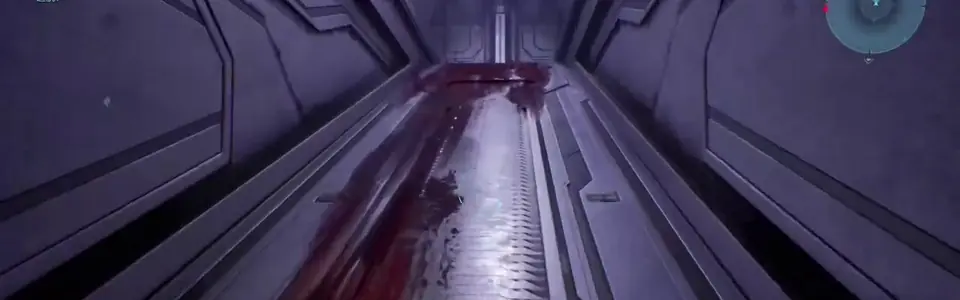
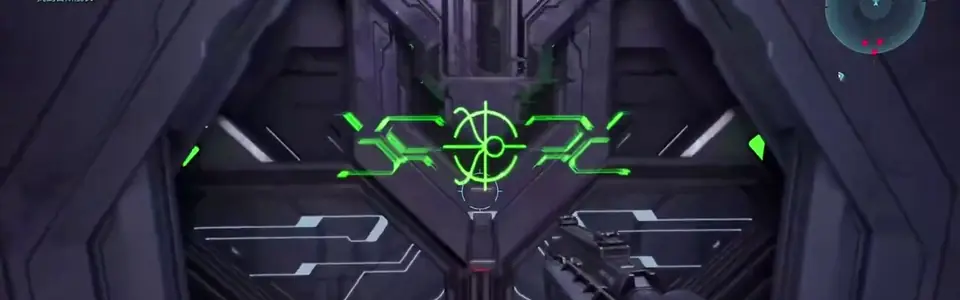 Step 02 | Combat detour | QuickThat's Just... Wrong SkullInside the blood-covered underground facility, you meet a terrified surviving Marine who fires from the floor. Defeat him to make the skull drop.
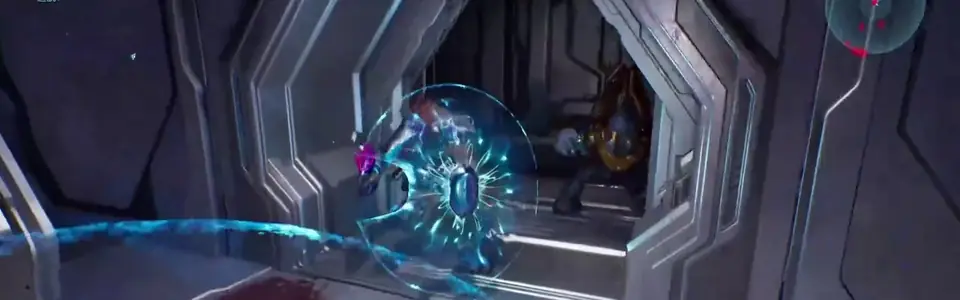 Step 03 | Terminal scan | ModerateTangent II TerminalDuring the Flood escape, call the elevator that crashes down, then backtrack through the prompted door in the previous room. Walk around the long divider wall to the terminal at the back.
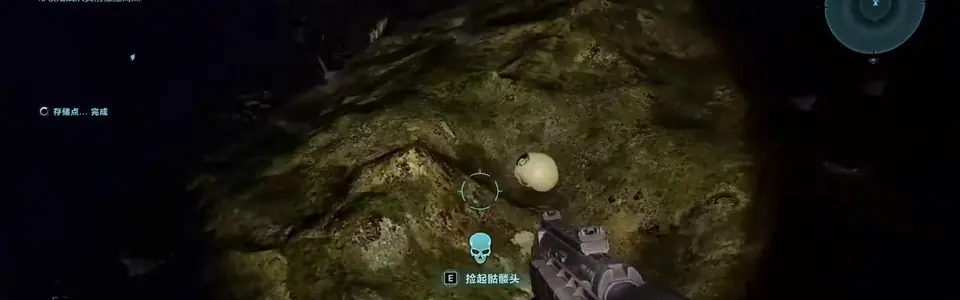 Step 04 | Interior detour | ModerateThey Come Back SkullNear the final outdoor evacuation area, ignore the metal structure with Sentinels and head right into the dark forest. Climb onto the base of the fallen tree and cross the trunk to the high rock ledge.
Quick table
Mission collectible table
Scan this mission's names, route types, and effects before following the image route.
| Collectible | Mission | Route type | Care | Effect / note |
|---|---|---|---|---|
| FogSkull | 06 - 343 Guilty Spark | Traversal | Moderate | The motion tracker is disabled. |
| That's Just... WrongSkull | 06 - 343 Guilty Spark | Combat detour | Quick | Enemies have increased awareness of the player. |
| Tangent IITerminal | 06 - 343 Guilty Spark | Terminal scan | Moderate | Lore terminal |
| They Come BackSkull | 06 - 343 Guilty Spark | Interior detour | Moderate | Flood Combat Forms revived by Infection Forms become more dangerous. |
Mission 06 | 3 Skulls + 1 Terminal
343 Guilty Spark collectible route
Skull1 of 3 hidden Skulls in this mission
Fog Skull
Route
Near the suspended, wrecked Covenant dropship early in the mission, climb the slope on its left. Pass the large tree, scramble onto the rocks on the right, and check the ground above.
Open frameShow approach frame
Skull2 of 3 hidden Skulls in this mission
That's Just... Wrong Skull
Route
Inside the blood-covered underground facility, you meet a terrified surviving Marine who fires from the floor. Defeat him to make the skull drop.
Open frameShow approach frame

Terminal1 Terminal in this mission
Tangent II Terminal
Route
During the Flood escape, call the elevator that crashes down, then backtrack through the prompted door in the previous room. Walk around the long divider wall to the terminal at the back.
Open frameShow approach frame
Skull3 of 3 hidden Skulls in this mission
They Come Back Skull
Route
Near the final outdoor evacuation area, ignore the metal structure with Sentinels and head right into the dark forest. Climb onto the base of the fallen tree and cross the trunk to the high rock ledge.
Open frameShow approach frame

Cleanup plan
Before leaving the mission
Use this quick pass after the last pickup, especially in co-op or when you loaded from a rally point.
- Reach a checkpointAfter collecting a Skull or Terminal, continue until the next reliable checkpoint before quitting or changing platforms.
- Use mission selectMissed pickups can be cleaned up later. Open the mission route, jump to the nearest rally point when available, and follow only the remaining entries.
- Track by nameIf the game menu does not show a chapter-by-chapter tracker, compare the collectible names on this page with the names already unlocked in your profile.
- Confirm co-op creditIn co-op, have the progression owner lead the fireteam and verify the pickup registers before leaving the session.
Verification desk
Names, effects, and routes checked against released-game sources.
The mission route is independently rewritten around recognizable landmarks. Official Halo sources set the Skull names and effects; IGN, PowerPyx, PC Gamer, and Push Square provide additional route-order cross-checks.
343 Guilty Spark collectible questions
How many collectibles are in 343 Guilty Spark?
343 Guilty Spark has 3 hidden Skulls and one Terminal, for 4 collectible locations on this page.
Can I return to 343 Guilty Spark for missing collectibles?
Yes. Use mission select to revisit the mission, then reach a reliable checkpoint after collecting the missing item before leaving.
Do collectibles work in co-op?
Yes, but the fireteam leader controls the active mission state. Confirm the pickup registers before moving on.