Collectibles field guide | Updated August 4, 2026
All 42 Skulls & 13 Terminals
A chronological checklist for every mission. Use the landmark route first, open the approach frame only when you need it, and mark each pickup as you go.
- Skulls
- 42 39 hidden + 3 automatic
- Terminals
- 13 One per mission
- Locations
- 52 Checklist entries
- Missions
- 13 Chronological order
Mission index
Pick up the route where you left it.
The list follows the campaign order used by mission select.
- 01The Pillar of Autumn3 Skulls / 1 Terminal
- 02Halo3 Skulls / 1 Terminal
- 03The Truth and Reconciliation3 Skulls / 1 Terminal
- 04The Silent Cartographer3 Skulls / 1 Terminal
- 05Assault on the Control Room3 Skulls / 1 Terminal
- 06343 Guilty Spark3 Skulls / 1 Terminal
- 07The Library3 Skulls / 1 Terminal
- 08Two Betrayals3 Skulls / 1 Terminal
- 09Keyes3 Skulls / 1 Terminal
- 10The Maw3 Skulls / 1 Terminal
- 11Boarding Action3 Skulls / 1 Terminal
- 12The Most Dangerous Game3 Skulls / 1 Terminal
- 13Heavy Burden3 Skulls / 1 Terminal
Campaign Remix unlocks
Three Skulls are earned, not found.
After any three hidden Skulls, these modifiers become available in Campaign Remix.
- AdaptationRandomizes enemy factions in a mission.
- ReloadRandomizes pre-placed weapons in a mission.
- ArmisticeEnemy factions never fight one another.
Visual route atlas
Pick the mission by the view you recognize.
Use the location frames when the room, canyon, or corridor is easier to recognize than the mission name.
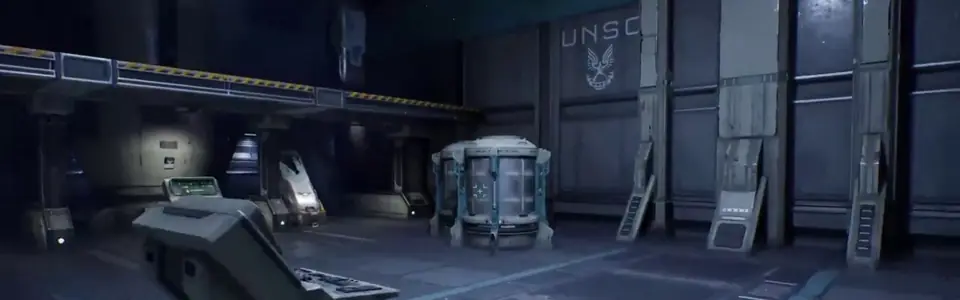 Mission 01 | 3 Skulls + 1 TerminalThe Pillar of AutumnInterior detour / Terminal scan
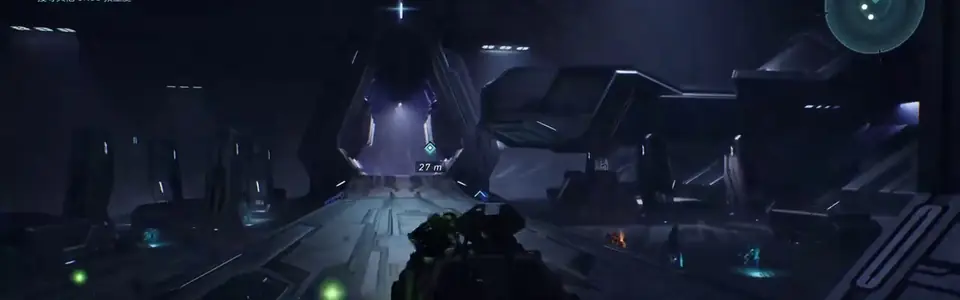 Mission 02 | 3 Skulls + 1 TerminalHaloTerminal scan / Grenade jump / Combat detour
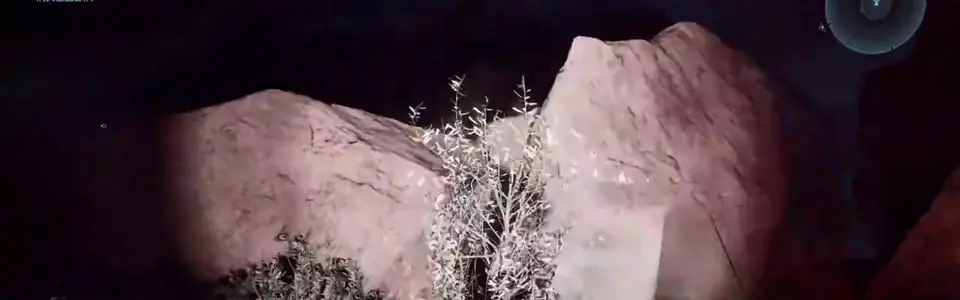 Mission 03 | 3 Skulls + 1 TerminalThe Truth and ReconciliationCombat detour / Vehicle route / Interior detour
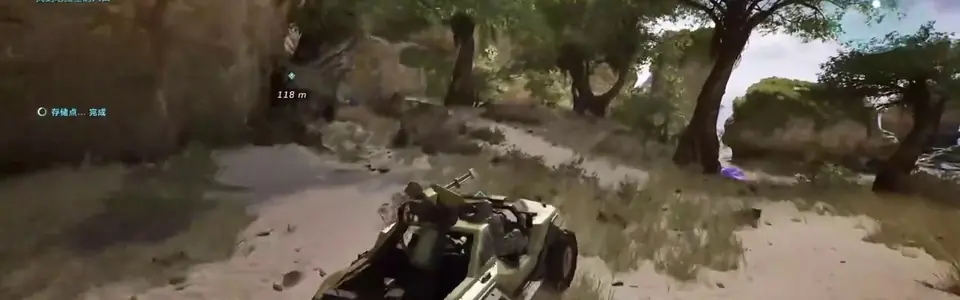 Mission 04 | 3 Skulls + 1 TerminalThe Silent CartographerCombat detour / Vehicle route / Terminal scan
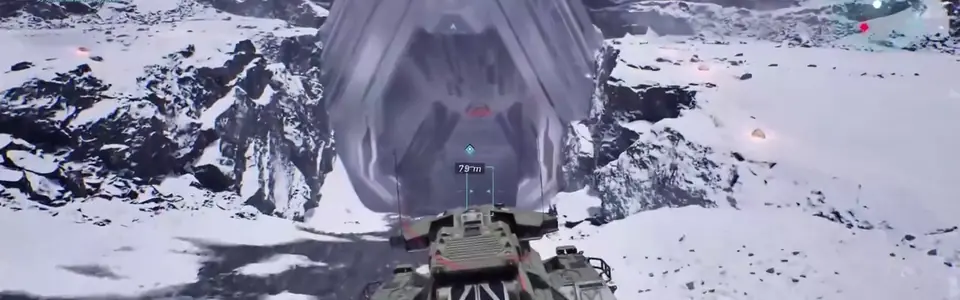 Mission 05 | 3 Skulls + 1 TerminalAssault on the Control RoomInterior detour / Terminal scan / Combat detour
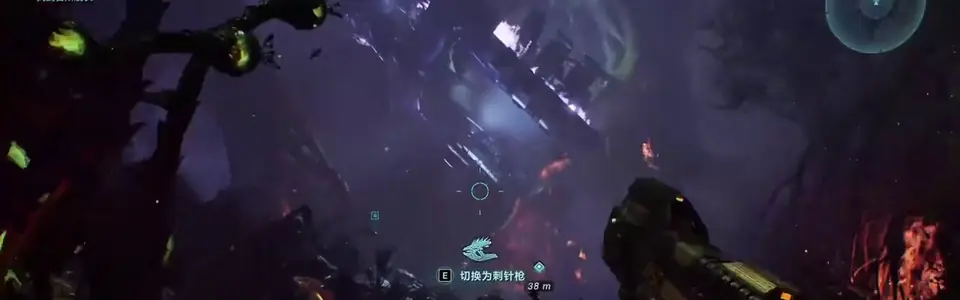 Mission 06 | 3 Skulls + 1 Terminal343 Guilty SparkTraversal / Combat detour / Terminal scan
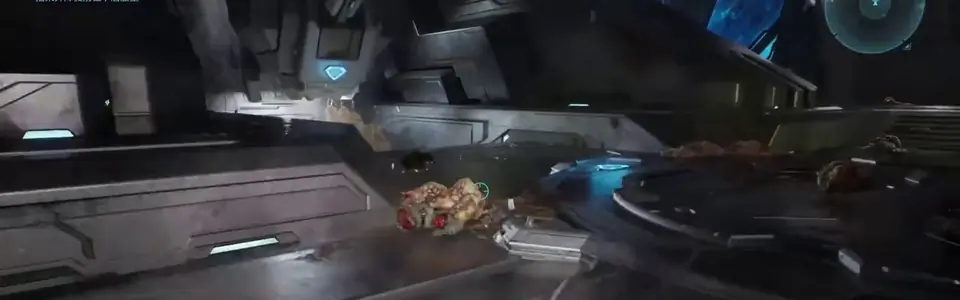 Mission 07 | 3 Skulls + 1 TerminalThe LibraryInterior detour / Traversal / Terminal scan
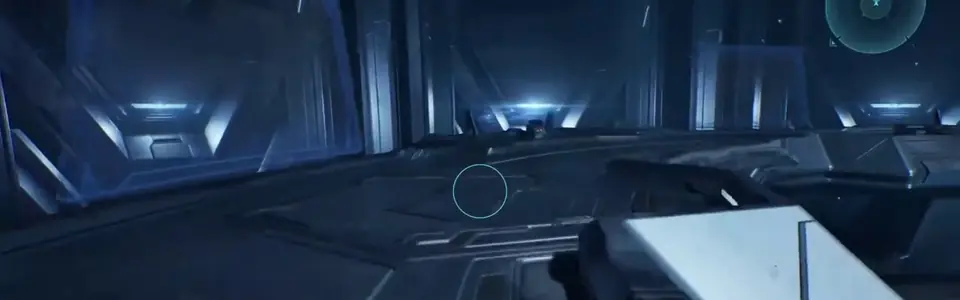 Mission 08 | 3 Skulls + 1 TerminalTwo BetrayalsTerminal scan / Vehicle route / Interior detour
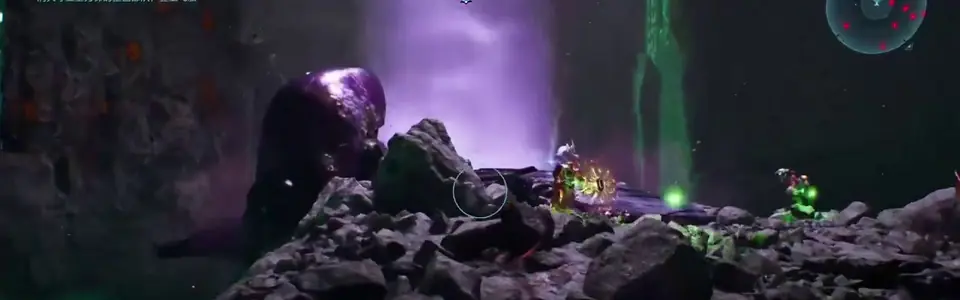 Mission 09 | 3 Skulls + 1 TerminalKeyesCombat detour / Interior detour / Terminal scan
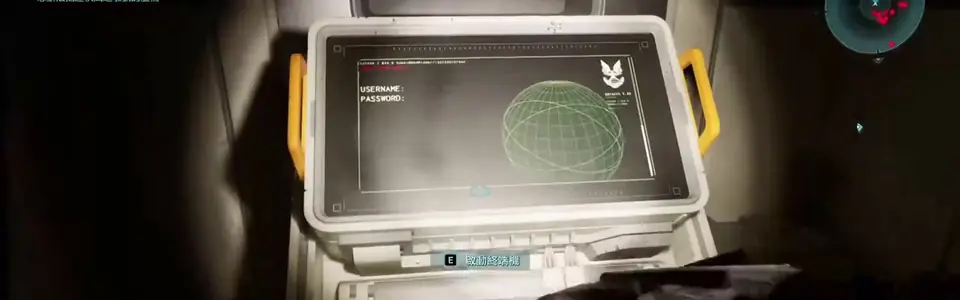 Mission 10 | 3 Skulls + 1 TerminalThe MawTerminal scan / Interior detour / Traversal
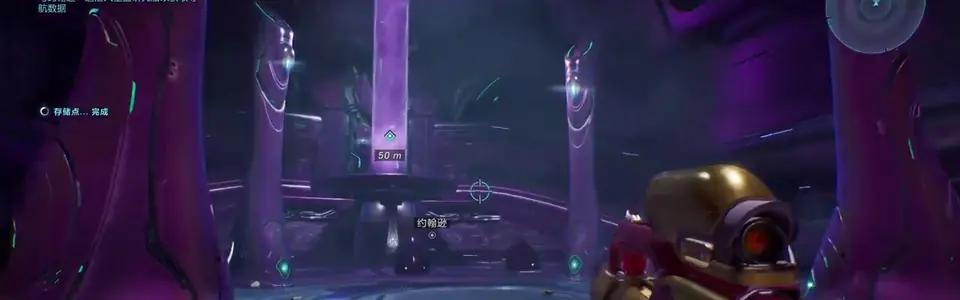 Mission 11 | 3 Skulls + 1 TerminalBoarding ActionInterior detour / Terminal scan
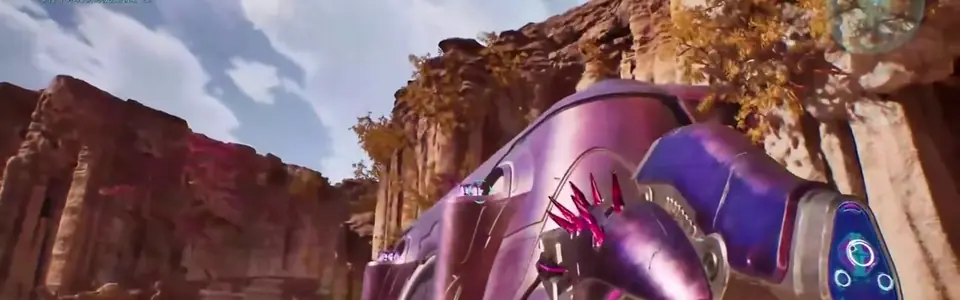 Mission 12 | 3 Skulls + 1 TerminalThe Most Dangerous GameInterior detour / Terminal scan / Combat detour
 Mission 13 | 3 Skulls + 1 TerminalHeavy BurdenInterior detour / Terminal scan / Traversal
Skull effects
Every modifier in one table.
Use this before LASO, co-op cleanup, or Campaign Remix planning.
| Skull | Where it comes from | Effect | Route type |
|---|---|---|---|
| Speed Limit | 01 - The Pillar of Autumn | Sprint is disabled. | Interior detour |
| Magnified | 01 - The Pillar of Autumn | The Assault Rifle uses 60-round magazines. | Interior detour |
| Perspective | 01 - The Pillar of Autumn | The camera switches to third person. | Interior detour |
| Grunt Funeral | 02 - Halo | Grunts die in a burst of plasma. | Grenade jump |
| Give & Take | 02 - Halo | Firing drains shields; damaging enemies restores them. | Combat detour |
| Floor is Lava | 02 - Halo | Touching the ground causes continuous damage. | Traversal |
| Iron | 03 - The Truth and Reconciliation | A solo death restarts the level; a co-op death returns the team to its last checkpoint. | Combat detour |
| Endurance Spec | 03 - The Truth and Reconciliation | UNSC vehicles cannot be damaged. | Vehicle route |
| Foreign | 03 - The Truth and Reconciliation | Players cannot use weapons from another faction. | Interior detour |
| Bandana | 04 - The Silent Cartographer | Ammo and grenades are unlimited. | Combat detour |
| Acrophobia | 04 - The Silent Cartographer | Allows the player to fly. | Vehicle route |
| Hip Fire | 04 - The Silent Cartographer | Weapon zoom is disabled. | Interior detour |
| IWHBYD | 05 - Assault on the Control Room | Changes combat dialogue. | Interior detour |
| Angry | 05 - Assault on the Control Room | Enemies fire their weapons faster and more frequently. | Combat detour |
| Cowbell | 05 - Assault on the Control Room | Objects have less mass and are displaced more easily. | Vehicle route |
| Fog | 06 - 343 Guilty Spark | The motion tracker is disabled. | Traversal |
| That's Just... Wrong | 06 - 343 Guilty Spark | Enemies have increased awareness of the player. | Combat detour |
| They Come Back | 06 - 343 Guilty Spark | Flood Combat Forms revived by Infection Forms become more dangerous. | Interior detour |
| Tilt | 07 - The Library | Positive and negative damage multipliers are both amplified. | Interior detour |
| Pop | 07 - The Library | Shooting a Flood weak point makes it explode. | Traversal |
| Famine | 07 - The Library | Weapons dropped by enemies contain half their normal ammo. | Combat detour |
| Tough Luck | 08 - Two Betrayals | Enemies go berserk, dodge constantly, and never flee. | Vehicle route |
| Black Eye | 08 - Two Betrayals | Shields recharge only when you melee enemies. | Interior detour |
| Mythic | 08 - Two Betrayals | Enemies have increased health. | Vehicle route |
| Catch | 09 - Keyes | Enemies throw and drop more grenades. | Combat detour |
| Blind | 09 - Keyes | The HUD and weapons do not appear on screen. | Interior detour |
| Piñata | 09 - Keyes | Melee hits make enemies drop inert grenades. | Combat detour |
| Stowed Reload | 10 - The Maw | Weapons continue reloading while stowed. | Interior detour |
| Boom | 10 - The Maw | Explosion radius is doubled. | Traversal |
| Thunderstorm | 10 - The Maw | Most enemies are upgraded to a higher rank. | Combat detour |
| Malfunction | 11 - Boarding Action | After respawning, a random part of the HUD disappears. | Interior detour |
| Johnny Ammo Seed | 11 - Boarding Action | Reloading discards the ammunition left in the removed magazine. | Interior detour |
| Leadhead | 11 - Boarding Action | Headshots no longer deal bonus damage or cause instant kills. | Interior detour |
| Recession | 12 - The Most Dangerous Game | Every shot consumes twice the normal amount of ammo. | Interior detour |
| Temperamental | 12 - The Most Dangerous Game | Allies turn hostile more quickly after friendly kills. | Combat detour |
| Ghost | 12 - The Most Dangerous Game | Enemies no longer flinch when hit. | Interior detour |
| Eye Patch | 13 - Heavy Burden | Auto-aim is disabled for every weapon. | Interior detour |
| Grunt Birthday Party | 13 - Heavy Burden | Grunt headshots trigger a celebration. | Traversal |
| Efficient | 13 - Heavy Burden | Enemies killed while you are at full health drop more ammo. | Traversal |
| Adaptation | Unlock after any three hidden Skulls | Randomizes enemy factions in a mission. | Campaign Remix |
| Reload | Unlock after any three hidden Skulls | Randomizes pre-placed weapons in a mission. | Campaign Remix |
| Armistice | Unlock after any three hidden Skulls | Enemy factions never fight one another. | Campaign Remix |
Quick table
All locations at a glance.
Compare every collectible by mission, route type, risk level, and effect before you jump into a route.
| Collectible | Mission | Route type | Care | Effect / note |
|---|---|---|---|---|
| Speed LimitSkull | 01 - The Pillar of Autumn | Interior detour | Moderate | Sprint is disabled. |
| MagnifiedSkull | 01 - The Pillar of Autumn | Interior detour | Quick | The Assault Rifle uses 60-round magazines. |
| PerspectiveSkull | 01 - The Pillar of Autumn | Interior detour | Quick | The camera switches to third person. |
| ApproachTerminal | 01 - The Pillar of Autumn | Terminal scan | Quick | Lore terminal |
| ForgottenTerminal | 02 - Halo | Terminal scan | Moderate | Lore terminal |
| Grunt FuneralSkull | 02 - Halo | Grenade jump | High care | Grunts die in a burst of plasma. |
| Give & TakeSkull | 02 - Halo | Combat detour | Quick | Firing drains shields; damaging enemies restores them. |
| Floor is LavaSkull | 02 - Halo | Traversal | High care | Touching the ground causes continuous damage. |
| IronSkull | 03 - The Truth and Reconciliation | Combat detour | High care | A solo death restarts the level; a co-op death returns the team to its last checkpoint. |
| Endurance SpecSkull | 03 - The Truth and Reconciliation | Vehicle route | Moderate | UNSC vehicles cannot be damaged. |
| ForeignSkull | 03 - The Truth and Reconciliation | Interior detour | Quick | Players cannot use weapons from another faction. |
| InquisitorTerminal | 03 - The Truth and Reconciliation | Terminal scan | Quick | Lore terminal |
| BandanaSkull | 04 - The Silent Cartographer | Combat detour | Moderate | Ammo and grenades are unlimited. |
| AcrophobiaSkull | 04 - The Silent Cartographer | Vehicle route | Moderate | Allows the player to fly. |
| Status UpdateTerminal | 04 - The Silent Cartographer | Terminal scan | Quick | Lore terminal |
| Hip FireSkull | 04 - The Silent Cartographer | Interior detour | Moderate | Weapon zoom is disabled. |
| IWHBYDSkull | 05 - Assault on the Control Room | Interior detour | Moderate | Changes combat dialogue. |
| Tangent ITerminal | 05 - Assault on the Control Room | Terminal scan | Quick | Lore terminal |
| AngrySkull | 05 - Assault on the Control Room | Combat detour | Quick | Enemies fire their weapons faster and more frequently. |
| CowbellSkull | 05 - Assault on the Control Room | Vehicle route | High care | Objects have less mass and are displaced more easily. |
| FogSkull | 06 - 343 Guilty Spark | Traversal | Moderate | The motion tracker is disabled. |
| That's Just... WrongSkull | 06 - 343 Guilty Spark | Combat detour | Quick | Enemies have increased awareness of the player. |
| Tangent IITerminal | 06 - 343 Guilty Spark | Terminal scan | Moderate | Lore terminal |
| They Come BackSkull | 06 - 343 Guilty Spark | Interior detour | Moderate | Flood Combat Forms revived by Infection Forms become more dangerous. |
| TiltSkull | 07 - The Library | Interior detour | Moderate | Positive and negative damage multipliers are both amplified. |
| PopSkull | 07 - The Library | Traversal | Moderate | Shooting a Flood weak point makes it explode. |
| Tangent IIITerminal | 07 - The Library | Terminal scan | Quick | Lore terminal |
| FamineSkull | 07 - The Library | Combat detour | Quick | Weapons dropped by enemies contain half their normal ammo. |
| AloneTerminal | 08 - Two Betrayals | Terminal scan | Quick | Lore terminal |
| Tough LuckSkull | 08 - Two Betrayals | Vehicle route | High care | Enemies go berserk, dodge constantly, and never flee. |
| Black EyeSkull | 08 - Two Betrayals | Interior detour | Quick | Shields recharge only when you melee enemies. |
| MythicSkull | 08 - Two Betrayals | Vehicle route | Quick | Enemies have increased health. |
| CatchSkull | 09 - Keyes | Combat detour | Quick | Enemies throw and drop more grenades. |
| BlindSkull | 09 - Keyes | Interior detour | Moderate | The HUD and weapons do not appear on screen. |
| ConsumedTerminal | 09 - Keyes | Terminal scan | Quick | Lore terminal |
| PiñataSkull | 09 - Keyes | Combat detour | Quick | Melee hits make enemies drop inert grenades. |
| ArrivalTerminal | 10 - The Maw | Terminal scan | Quick | Lore terminal |
| Stowed ReloadSkull | 10 - The Maw | Interior detour | Moderate | Weapons continue reloading while stowed. |
| BoomSkull | 10 - The Maw | Traversal | Moderate | Explosion radius is doubled. |
| ThunderstormSkull | 10 - The Maw | Combat detour | Quick | Most enemies are upgraded to a higher rank. |
| MalfunctionSkull | 11 - Boarding Action | Interior detour | Quick | After respawning, a random part of the HUD disappears. |
| Johnny Ammo SeedSkull | 11 - Boarding Action | Interior detour | Quick | Reloading discards the ammunition left in the removed magazine. |
| LeadheadSkull | 11 - Boarding Action | Interior detour | Moderate | Headshots no longer deal bonus damage or cause instant kills. |
| The PathTerminal | 11 - Boarding Action | Terminal scan | Quick | Lore terminal |
| RecessionSkull | 12 - The Most Dangerous Game | Interior detour | Quick | Every shot consumes twice the normal amount of ammo. |
| Penitent ReportTerminal | 12 - The Most Dangerous Game | Terminal scan | Quick | Lore terminal |
| TemperamentalSkull | 12 - The Most Dangerous Game | Combat detour | Quick | Allies turn hostile more quickly after friendly kills. |
| GhostSkull | 12 - The Most Dangerous Game | Interior detour | Moderate | Enemies no longer flinch when hit. |
| Eye PatchSkull | 13 - Heavy Burden | Interior detour | Quick | Auto-aim is disabled for every weapon. |
| Harmonious ClarityTerminal | 13 - Heavy Burden | Terminal scan | Quick | Lore terminal |
| Grunt Birthday PartySkull | 13 - Heavy Burden | Traversal | Moderate | Grunt headshots trigger a celebration. |
| EfficientSkull | 13 - Heavy Burden | Traversal | Moderate | Enemies killed while you are at full health drop more ammo. |
Cleanup plan
Clean up safely before quitting.
Most collectible pages show locations; this plan covers the part that causes lost progress and replay time.
- Reach a checkpointAfter collecting a Skull or Terminal, continue until the next reliable checkpoint before quitting or changing platforms.
- Use mission selectMissed pickups can be cleaned up later. Choose New Game in the relevant campaign mode, select the mission and nearest available rally point, then follow only the remaining entries.
- Track by nameIf the game menu does not show a chapter-by-chapter tracker, compare the collectible names on this page with the names already unlocked in your profile.
- Confirm co-op creditIn co-op, have the progression owner lead the fireteam and verify the pickup registers before leaving the session.
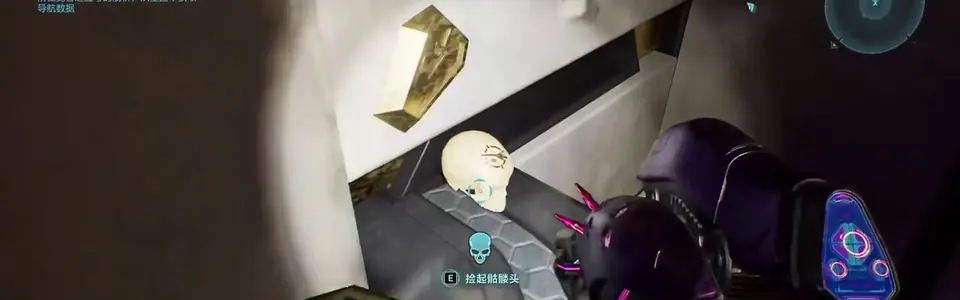
Mission 01 | 3 Skulls + 1 Terminal
The Pillar of Autumn
Skull1 of 3 hidden Skulls in this mission
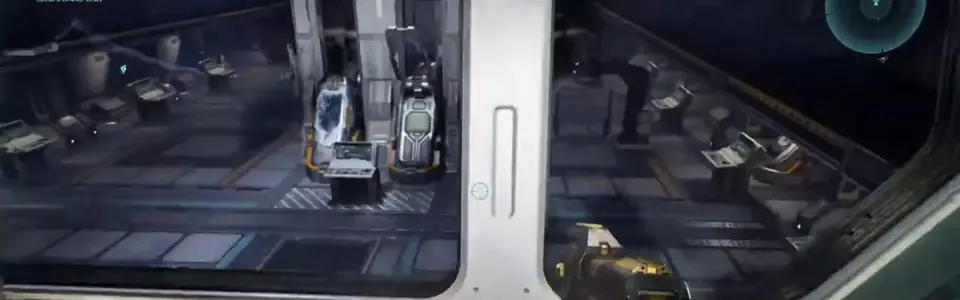
Speed Limit Skull
Route
From the starting cryo room, turn around and climb the two cylinders in the rear corner. Jump to the upper walkway and follow it toward the observation window; the skull is on the floor at the far end.
Open frameShow approach frame
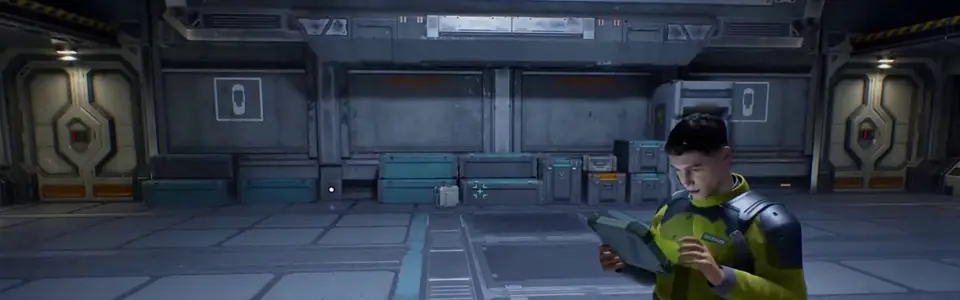
Skull2 of 3 hidden Skulls in this mission
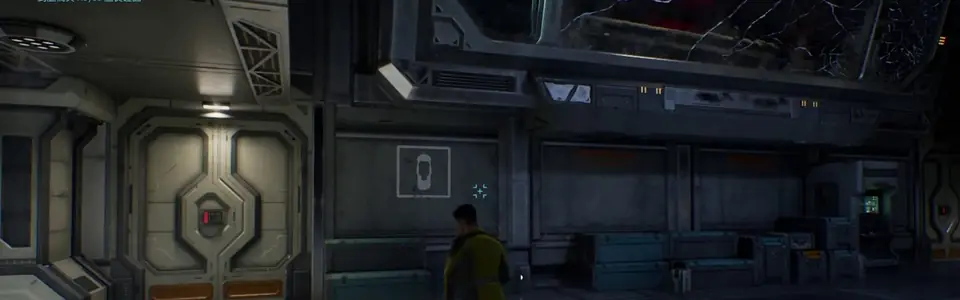
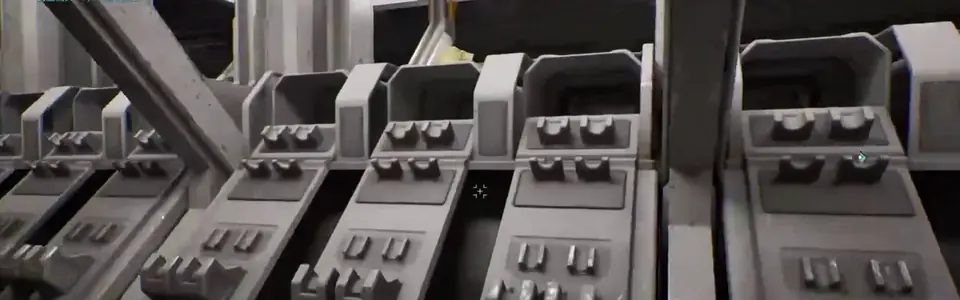
Magnified Skull
Route
After the Covenant attack begins, continue toward the bridge until you enter the large locker room. Check the top of the nearest row of lockers.
 Open frame
Show approach frame
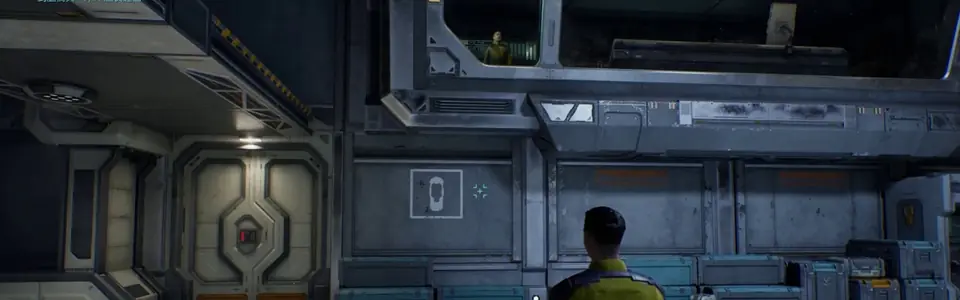
Skull3 of 3 hidden Skulls in this mission
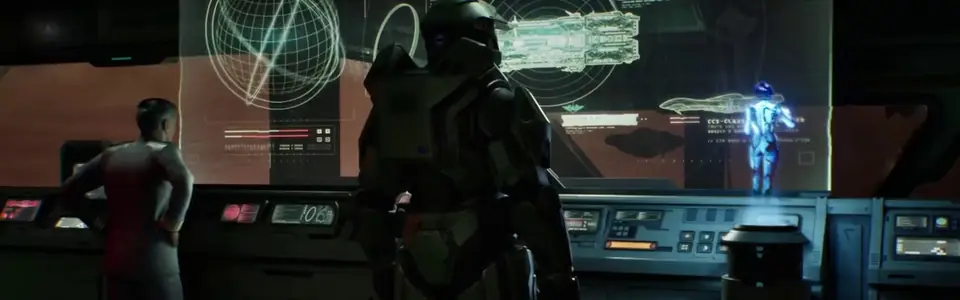
Perspective Skull
Route
After Keyes gives you Cortana, step back into the bridge and drop below the two pilot stations. The skull is in the small recess beside the ladder.
 Open frame
Show approach frame
Terminal1 Terminal in this mission
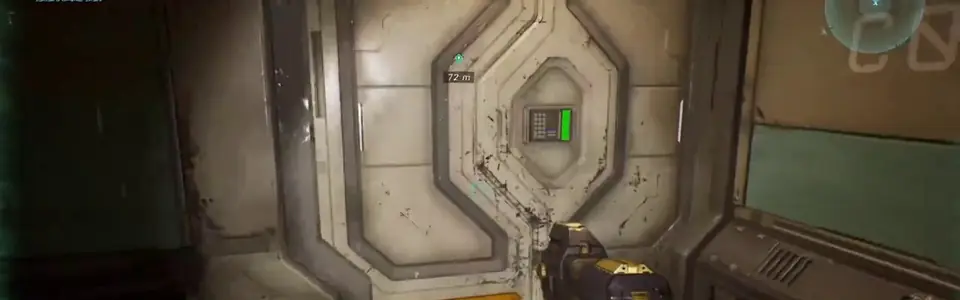
Approach Terminal
Route
In the room overlooking Chief's cryo pod, leave through the next door, turn left immediately, and loop into the corner room. Approach is in the back-right corner.
 Open frame
Show approach frame
Mission 02 | 3 Skulls + 1 Terminal
Halo
Terminal1 Terminal in this mission
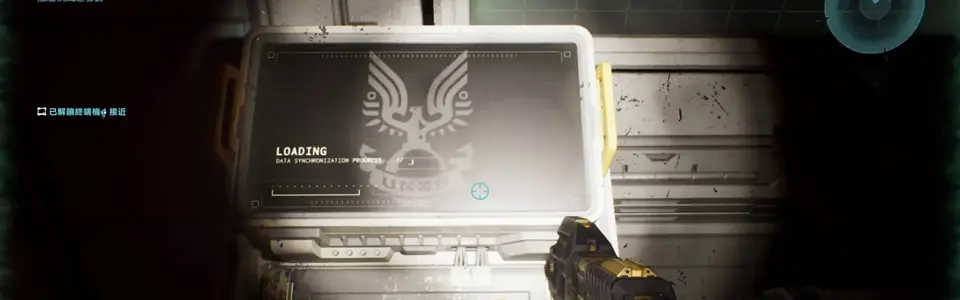
Forgotten Terminal
Route
While driving through the underground Warthog tunnels, take the path that loops behind the first large drop and slope. Before climbing the slope on the opposite side, check the small alcove on the left.
Open frameShow approach frame
Skull1 of 3 hidden Skulls in this mission
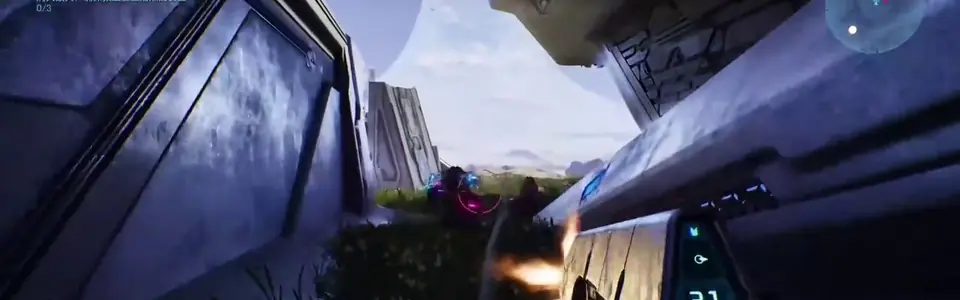
Grunt Funeral Skull
Route
Clear the leftmost lifeboat site, then climb the large metal spire. Use a frag grenade jump to cross from its upper slope to the higher section opposite, where the skull waits at the top.
 Open frame
Show approach frame
Skull2 of 3 hidden Skulls in this mission
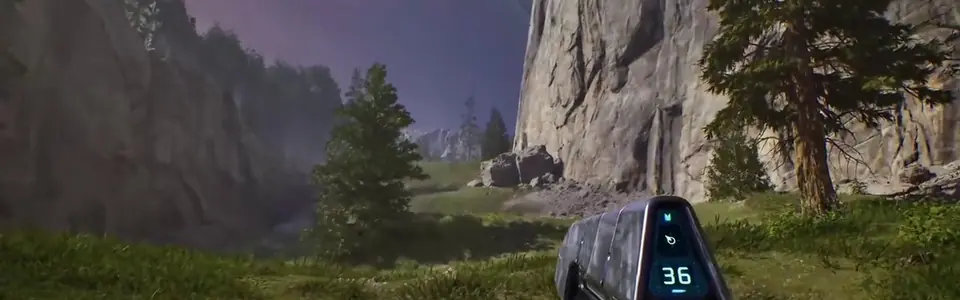
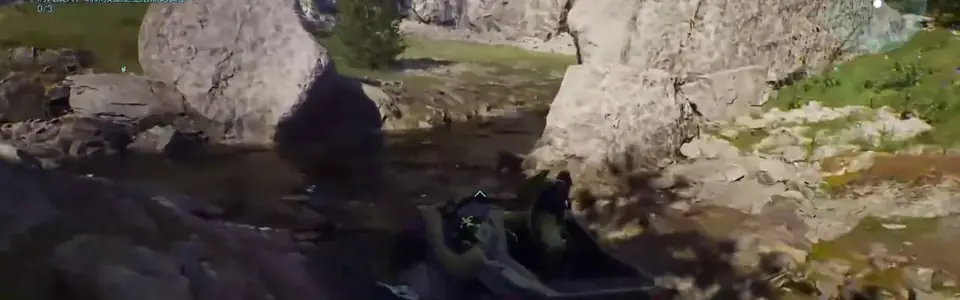
Give & Take Skull
Route
Follow the central river upstream beneath the broad rock overhang. The skull is hidden behind the large boulder touching the left bank.
 Open frame
Show approach frame
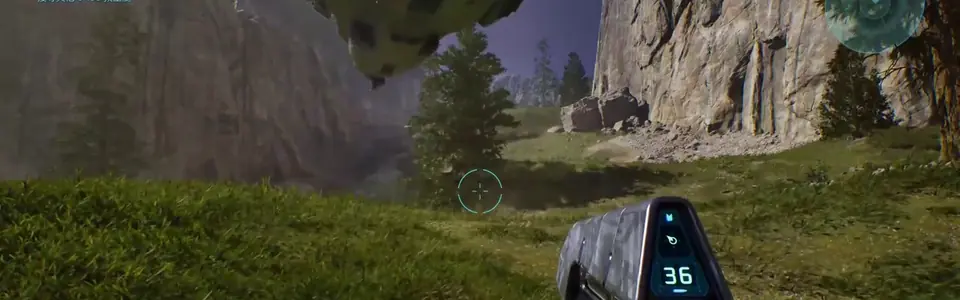
Skull3 of 3 hidden Skulls in this mission
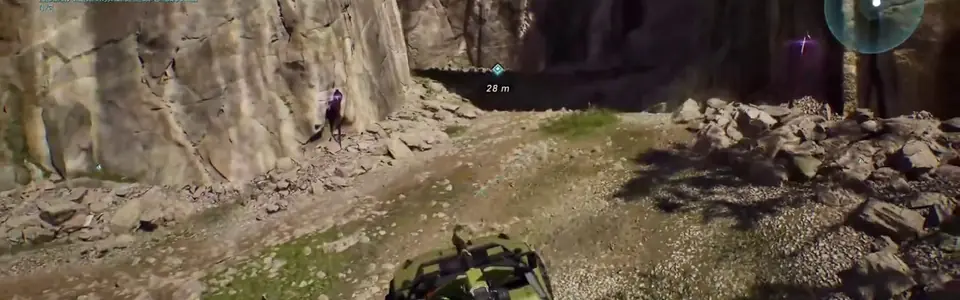
Floor is Lava Skull
Route
At the rightmost lifeboat site, climb the sloped hill and jump to the grassy shelf on the right while facing downhill. Drop onto the next rock formation to reach the skull.
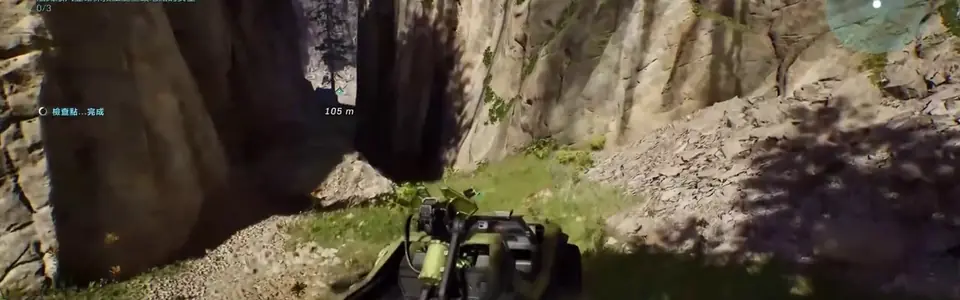 Open frame
Show approach frame
Mission 03 | 3 Skulls + 1 Terminal
The Truth and Reconciliation
Skull1 of 3 hidden Skulls in this mission
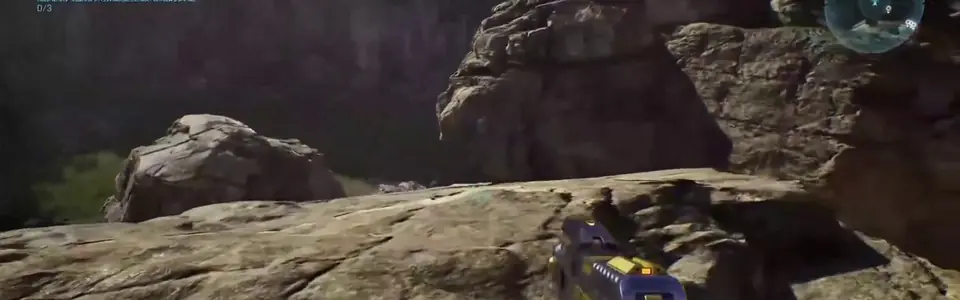
Iron Skull
Route
At the gravity lift outside the ship, walk to the cliff-side edge and find the horizontal white floor light. Look over the ledge beyond it and drop to the small shelf below.
Open frameShow approach frame
Skull2 of 3 hidden Skulls in this mission
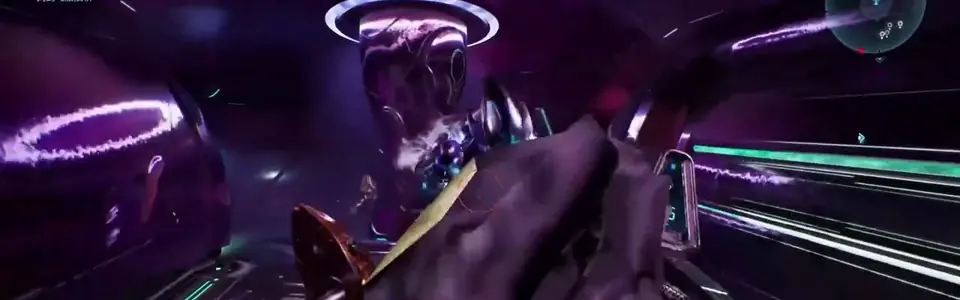
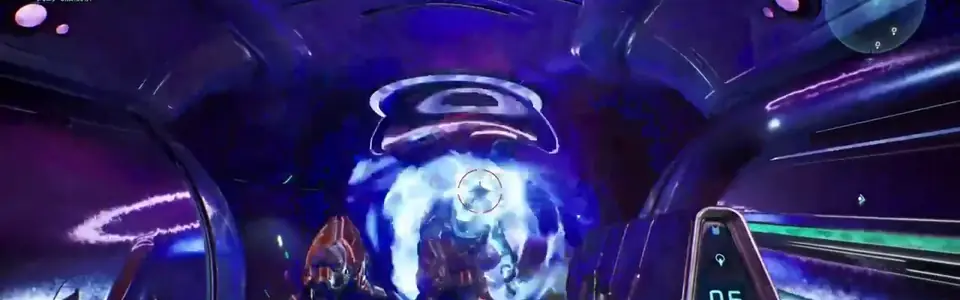
Endurance Spec Skull
Route
In the early ship room with two destroyed Wraiths below, follow the upper walkway around to the right. Jump onto the purple container, then across the three curved supports; the skull is on the third support.
 Open frame
Show approach frame
Skull3 of 3 hidden Skulls in this mission
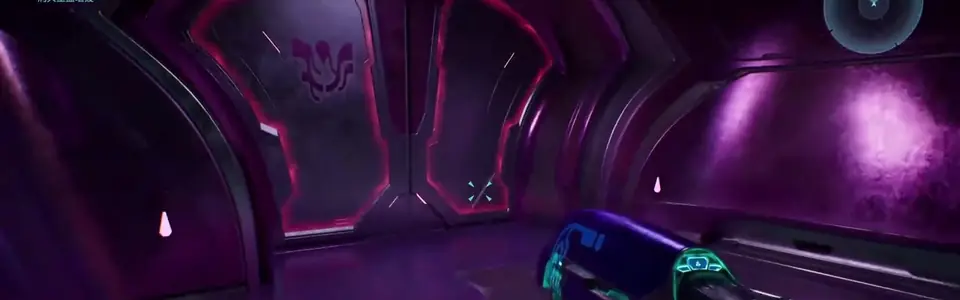
Foreign Skull
Route
When you first enter the ship's main hangar, rush to the back-right doors. Let spawning enemies open them, slip through before they close, and check the alcove on the left.
 Open frame
Show approach frame
Terminal1 Terminal in this mission
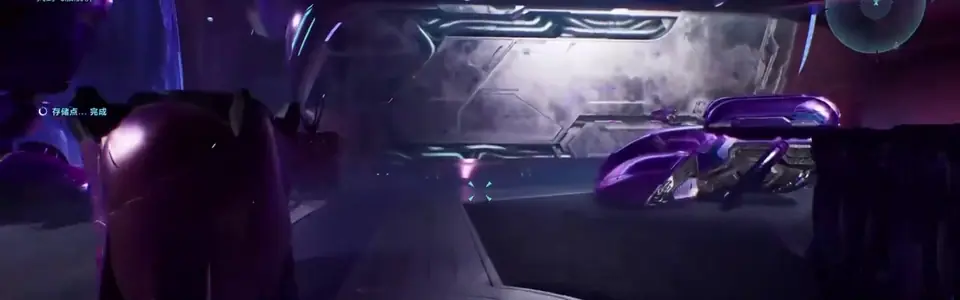
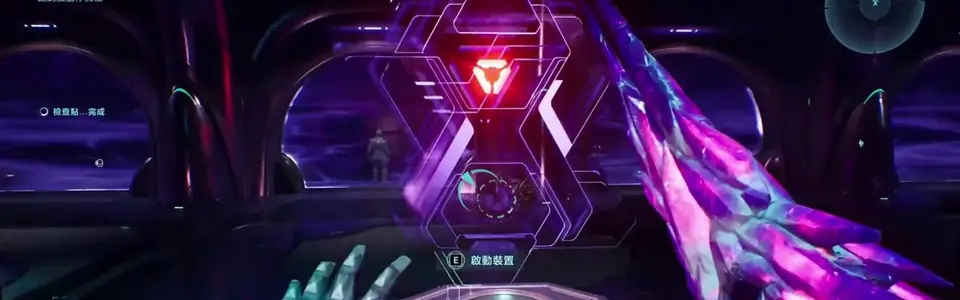
Inquisitor Terminal
Route
In the prison section while searching for Keyes, enter the cell room immediately to the right and disable its shields. Inquisitor is against the back wall of a far cell beside a dead Marine and ammunition.
 Open frame
Show approach frame
Mission 04 | 3 Skulls + 1 Terminal
The Silent Cartographer
Skull1 of 3 hidden Skulls in this mission
Bandana Skull
Route
After the first beach facility locks, return outside and enter the cave immediately uphill on the left. The skull sits in the open area midway through the cave.
Open frameShow approach frame

Skull2 of 3 hidden Skulls in this mission
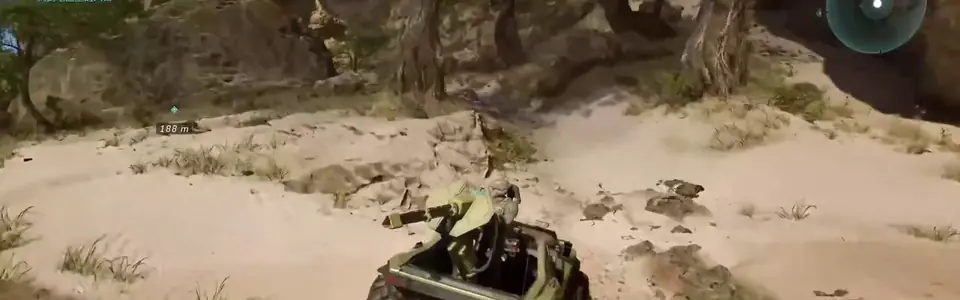
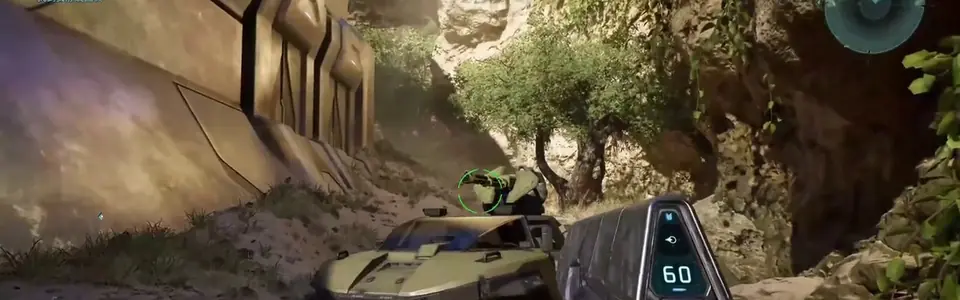
Acrophobia Skull
Route
In the circular arena with two Hunters, climb the sloped edge of the center structure, jump onto its middle section, and walk along the beam toward the rock wall. The skull is on the raised shelf partly hidden by a tree.
 Open frame
Show approach frame
Terminal1 Terminal in this mission
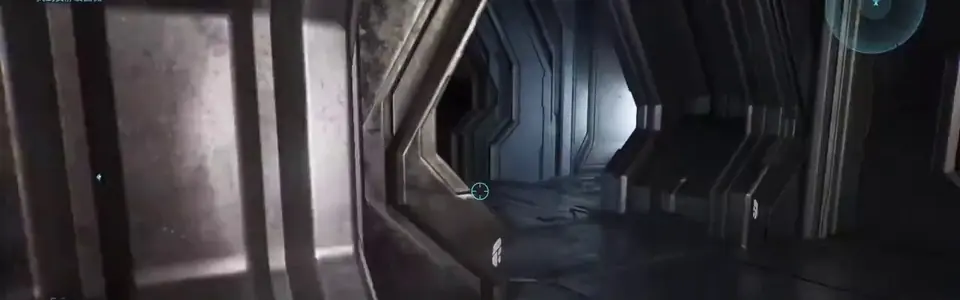
Status Update Terminal
Route
Inside the second underground facility used to override security, circle behind the substation. Status Update is tucked behind the forked metal plinth at the rear.
 Open frame
Show approach frame
Skull3 of 3 hidden Skulls in this mission
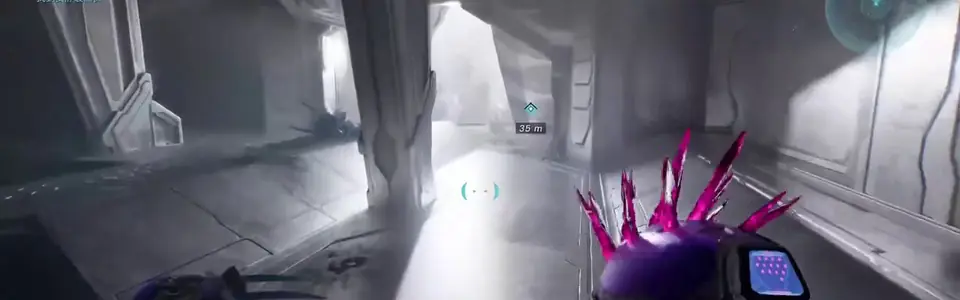
Hip Fire Skull
Route
After disabling security, return to the first facility and clear the room with two Hunters. At the bright descending ramp, look over the edge and carefully drop to the small ledge far below.
 Open frame
Show approach frame
Mission 05 | 3 Skulls + 1 Terminal
Assault on the Control Room
Skull1 of 3 hidden Skulls in this mission
IWHBYD Skull
Route
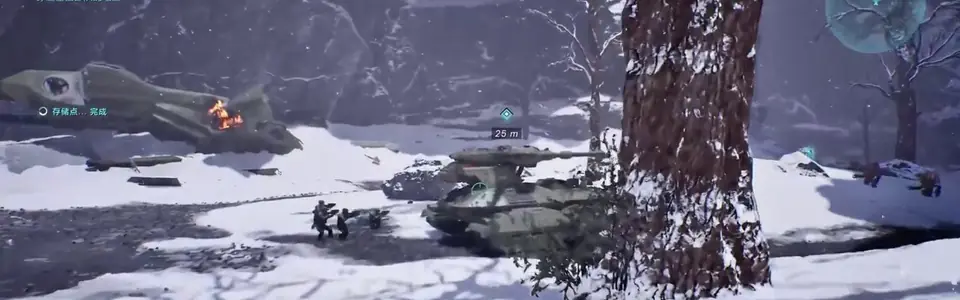
In the open tank section with a narrow bridge over the chasm, clear the Covenant and cross the bridge. Turn left at the snowbank, climb onto the Scorpion, and sprint-jump into the small ice recess.
Open frameShow approach frame
Terminal1 Terminal in this mission
Tangent I Terminal
Route
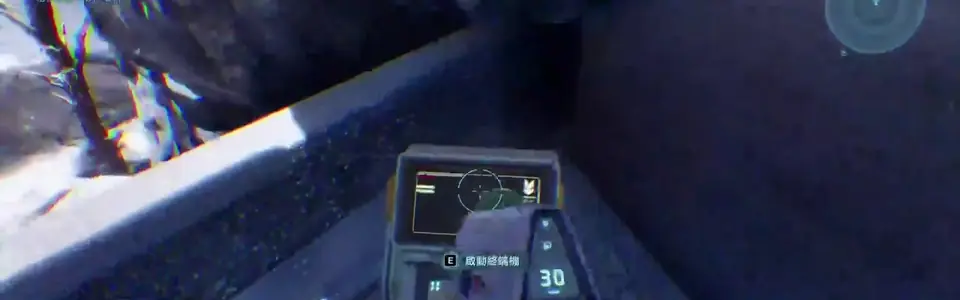
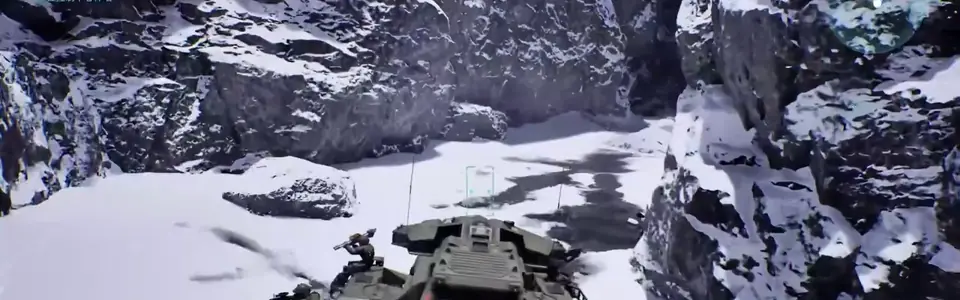
In the large icy ravine used by the Scorpion, find the tall metal structure at the fork in the route. Enter from either side, go up the interior slope, and turn right.
 Open frame
Show approach frame
Skull2 of 3 hidden Skulls in this mission
Angry Skull
Route
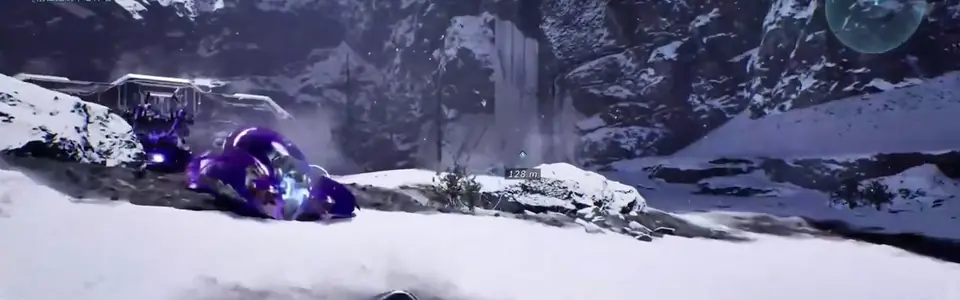
On the approach to the Control Center Ziggurat, locate the three metal arches in the valley beside the route forward. The skull is on top of the farthest arch.
 Open frame
Show approach frame

Skull3 of 3 hidden Skulls in this mission
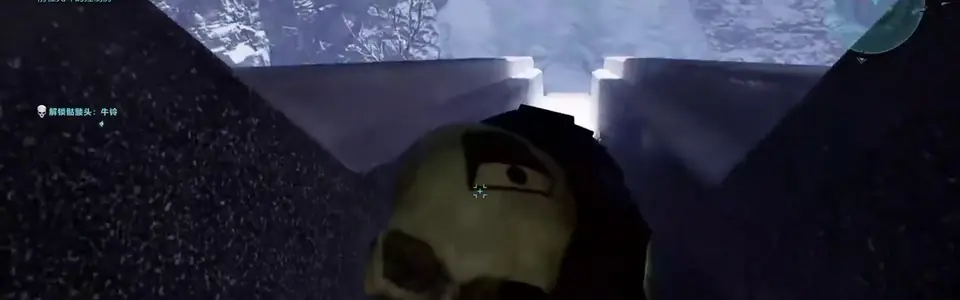
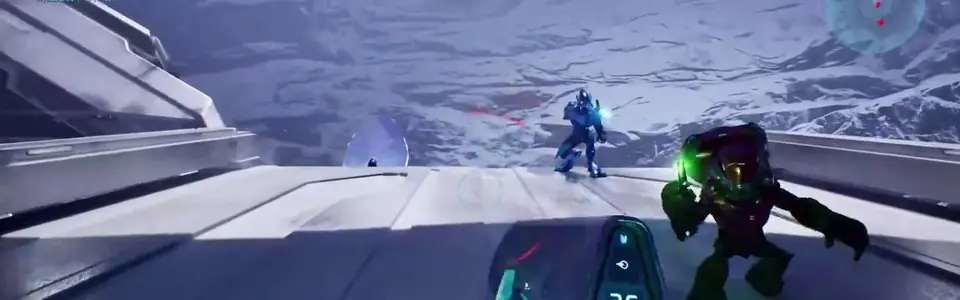
Cowbell Skull
Route
At the bridge where Cortana tells you to take a Banshee, look over the right edge. Drop onto the narrow slanted support and move beneath the bridge to the skull.
 Open frame
Show approach frame
Mission 06 | 3 Skulls + 1 Terminal
343 Guilty Spark
Skull1 of 3 hidden Skulls in this mission
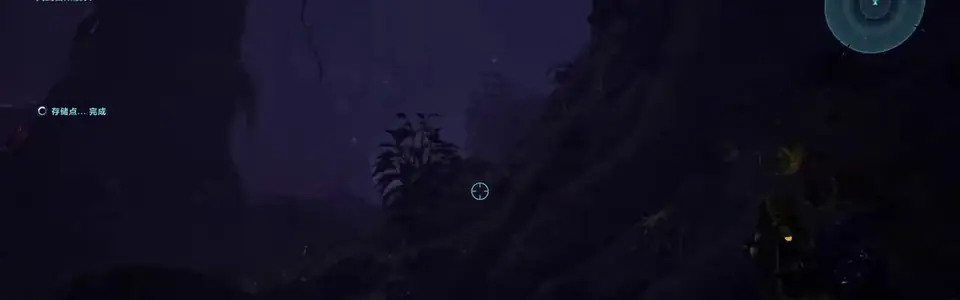
Fog Skull
Route
Near the suspended, wrecked Covenant dropship early in the mission, climb the slope on its left. Pass the large tree, scramble onto the rocks on the right, and check the ground above.
Open frameShow approach frame
Skull2 of 3 hidden Skulls in this mission
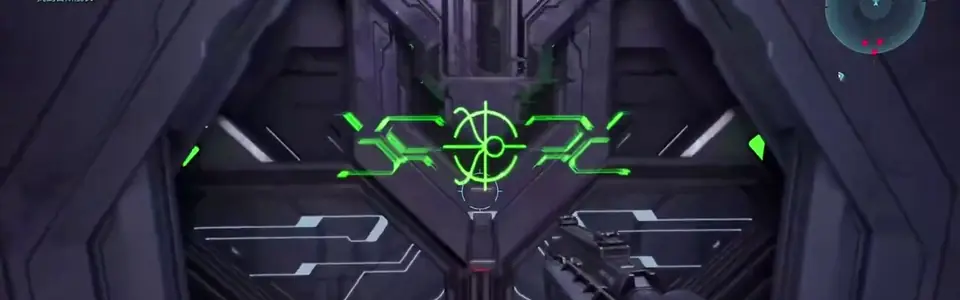
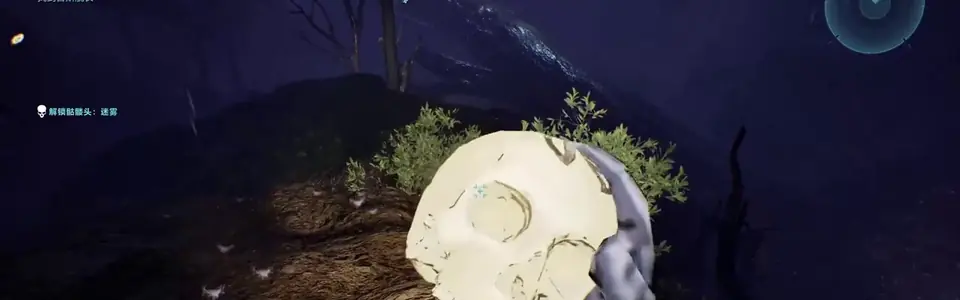
That's Just... Wrong Skull
Route
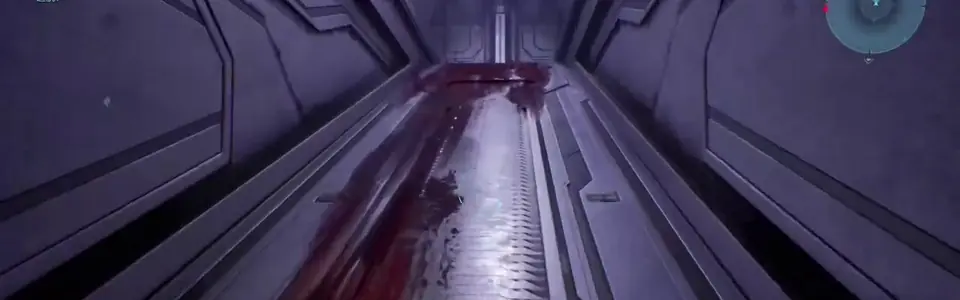
Inside the blood-covered underground facility, you meet a terrified surviving Marine who fires from the floor. Defeat him to make the skull drop.
 Open frame
Show approach frame
Terminal1 Terminal in this mission
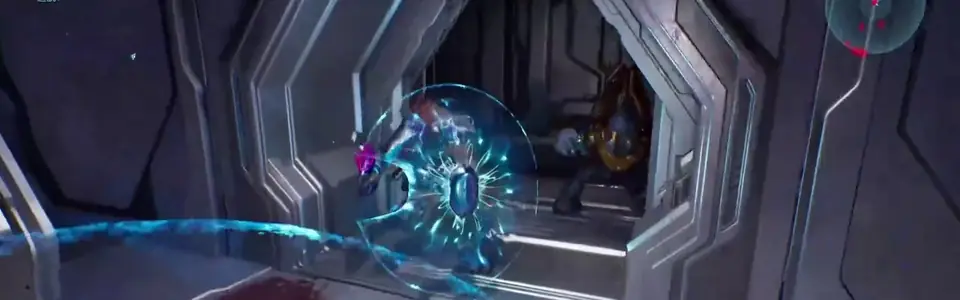
Tangent II Terminal
Route
During the Flood escape, call the elevator that crashes down, then backtrack through the prompted door in the previous room. Walk around the long divider wall to the terminal at the back.
 Open frame
Show approach frame
Skull3 of 3 hidden Skulls in this mission
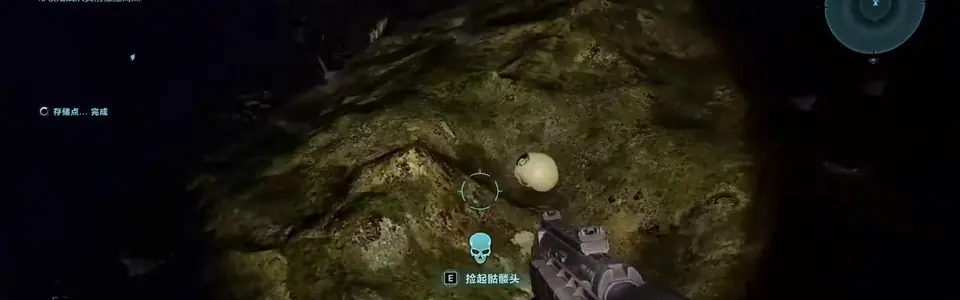
They Come Back Skull
Route
Near the final outdoor evacuation area, ignore the metal structure with Sentinels and head right into the dark forest. Climb onto the base of the fallen tree and cross the trunk to the high rock ledge.
 Open frame
Show approach frame
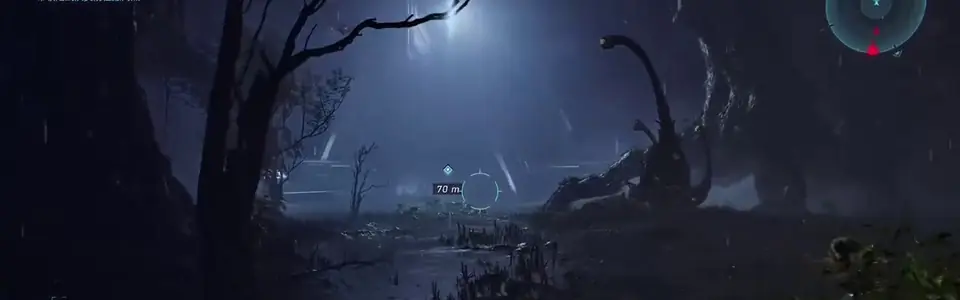
Mission 07 | 3 Skulls + 1 Terminal
The Library
Skull1 of 3 hidden Skulls in this mission
Tilt Skull
Route
When Guilty Spark remarks that you survived and Sentinels are fighting Flood in the next room, turn right immediately. Climb the ramp above the steps to find the skull.
Open frameShow approach frame
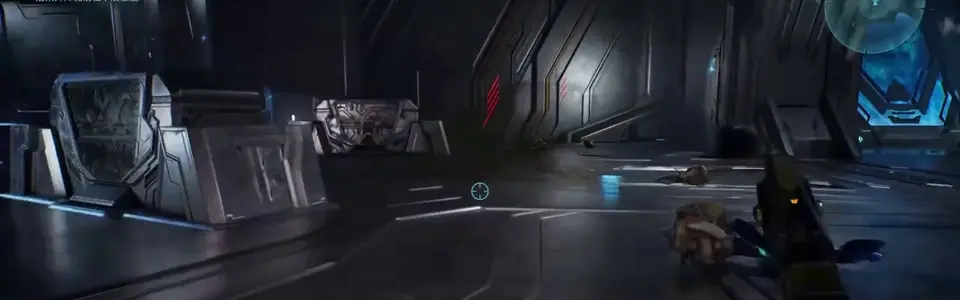
Skull2 of 3 hidden Skulls in this mission
Pop Skull
Route
After the first elevator, take either route until both paths reconnect. Climb the metal slope, sprint-jump across the pronged structures, then jump to the narrow inner-wall ledge.
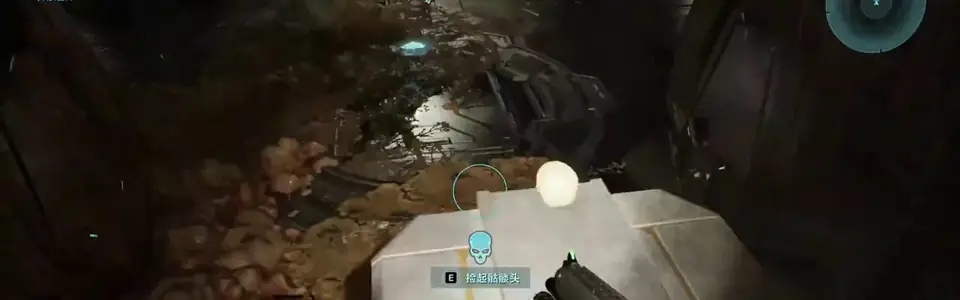 Open frame
Show approach frame
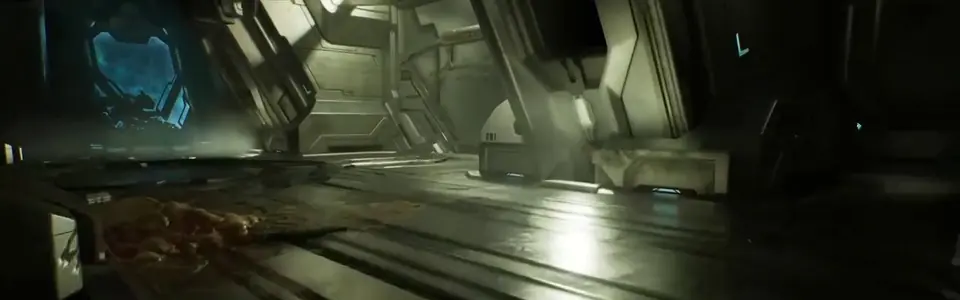
Terminal1 Terminal in this mission
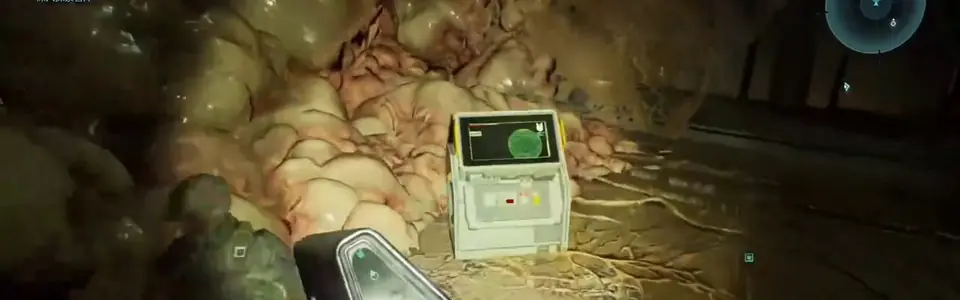
Tangent III Terminal
Route
After the first lift, reach the controls that normally open the right door. Activate the panel on the left instead, enter the left route, crouch through the Flood-choked doorway, and turn the corner.
 Open frame
Show approach frame
Skull3 of 3 hidden Skulls in this mission
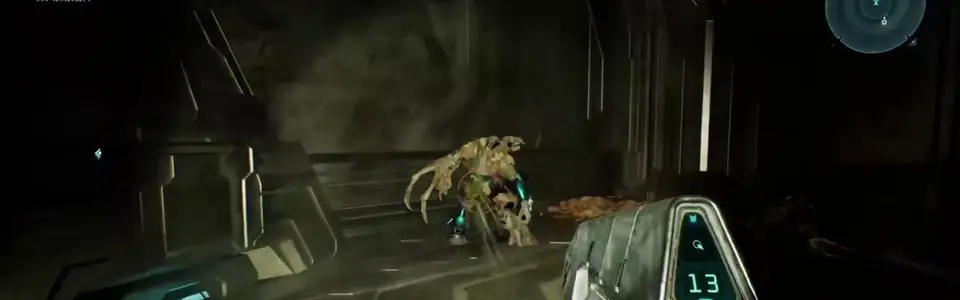
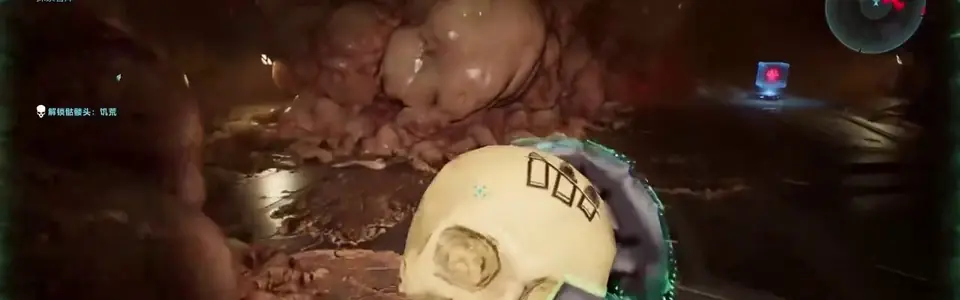
Famine Skull
Route
After the final elevator reaches the last chamber, go straight down into the infested lower level. Turn left at once and check the small floor-level alcove.
 Open frame
Show approach frame
Mission 08 | 3 Skulls + 1 Terminal
Two Betrayals
Terminal1 Terminal in this mission
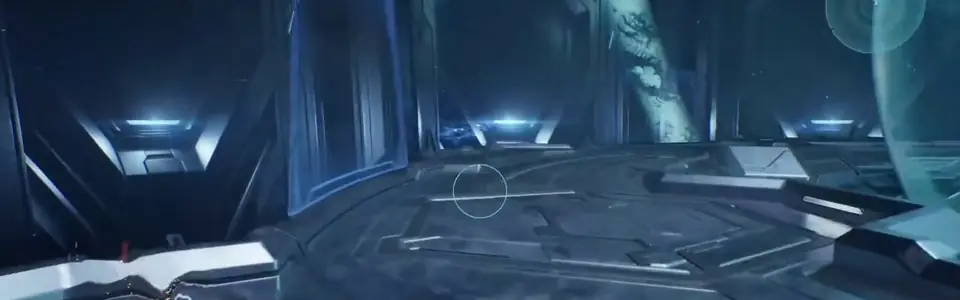
Alone Terminal
Route
At the very start of Two Betrayals, destroy the four Sentinels, turn around, and follow the circular walkway to its far side.
Open frameShow approach frame
Skull1 of 3 hidden Skulls in this mission
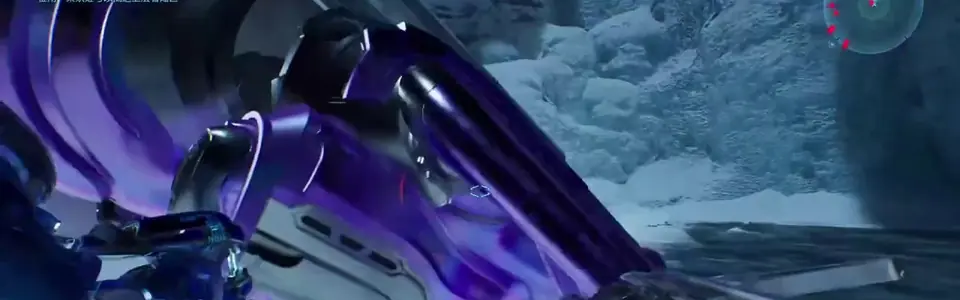
Tough Luck Skull
Route
After leaving the opening facility, take the Banshee and fly above the normal destination to the top of the spire in front of the blue beam. Exit carefully in mid-air to land beside the skull.
 Open frame
Show approach frame
Skull2 of 3 hidden Skulls in this mission
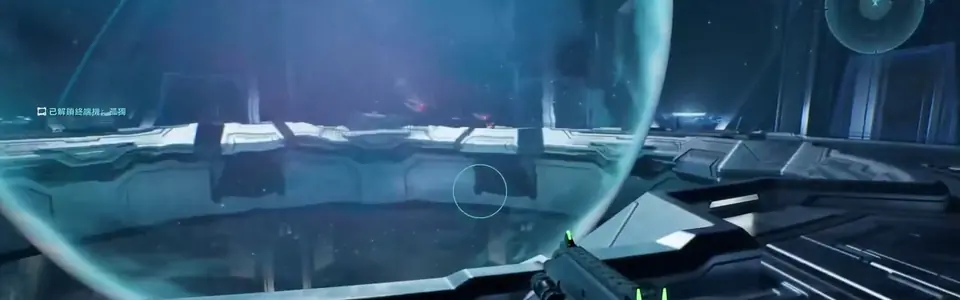
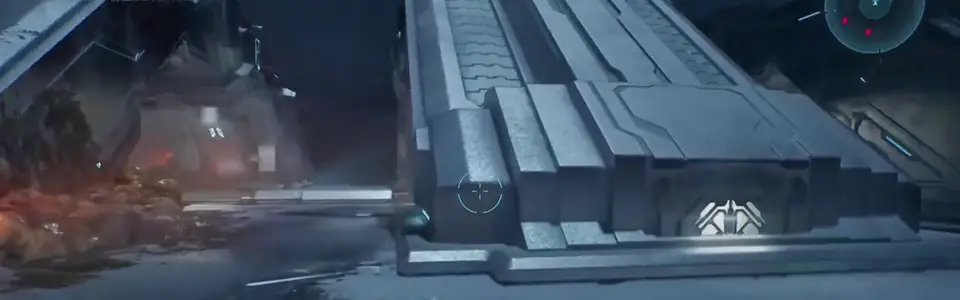
Black Eye Skull
Route
After descending from the twin bridges toward the second pulse generator, cross over the metal arch directly ahead of the lift. The skull is in the dead end between the Flood growths.
 Open frame
Show approach frame
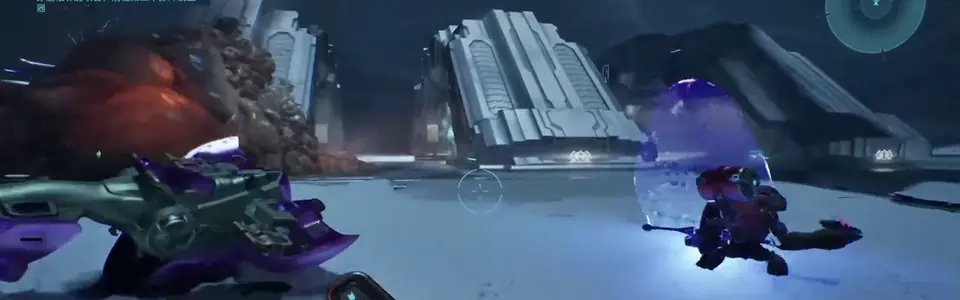
Skull3 of 3 hidden Skulls in this mission
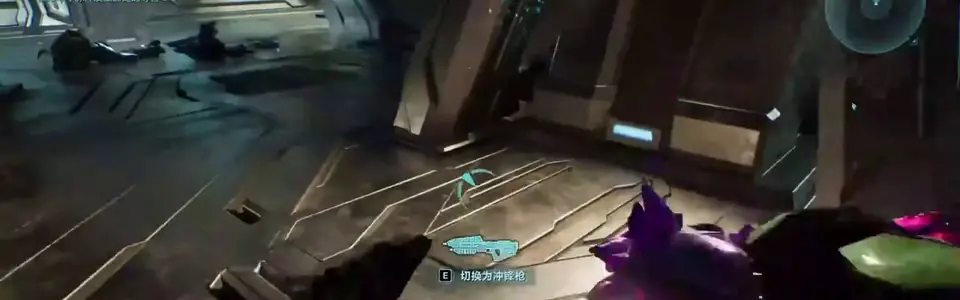
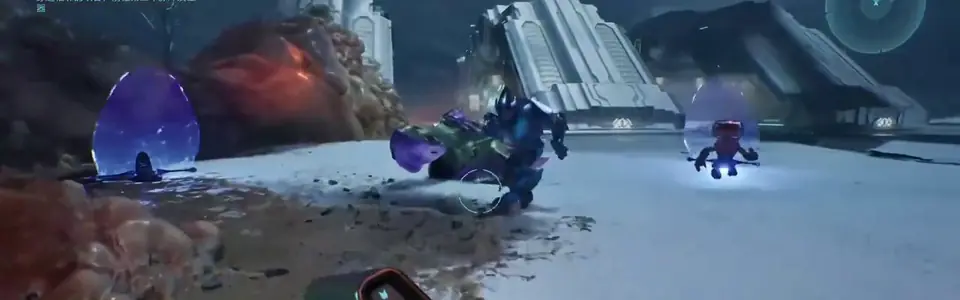
Mythic Skull
Route
At the second generator, use the center panel to unlock the doors, then fly to the door opposite the waypoint. Clear the Flood-filled detour to its final dead-end room; the skull is on the center pedestal.
 Open frame
Show approach frame
Mission 09 | 3 Skulls + 1 Terminal
Keyes
Skull1 of 3 hidden Skulls in this mission
Catch Skull
Route
Play on Heroic or Legendary and reach the first gravity lift in roughly three minutes. Save the nearby Active Camo and Overshield for the run, then hold the interact button while rising through the lift to catch the skull.
Open frameShow approach frame
Skull2 of 3 hidden Skulls in this mission
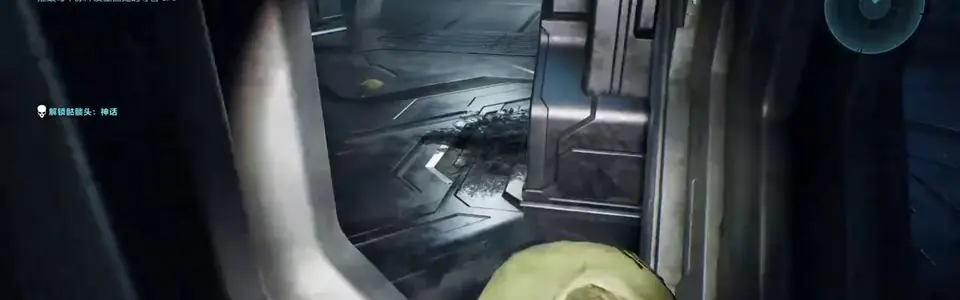
Blind Skull
Route
After entering the ship through the gravity lift, drop into the first room with a wrecked Wraith. Take the side arch, pass the second wreck, and climb the slope to the locked doors.
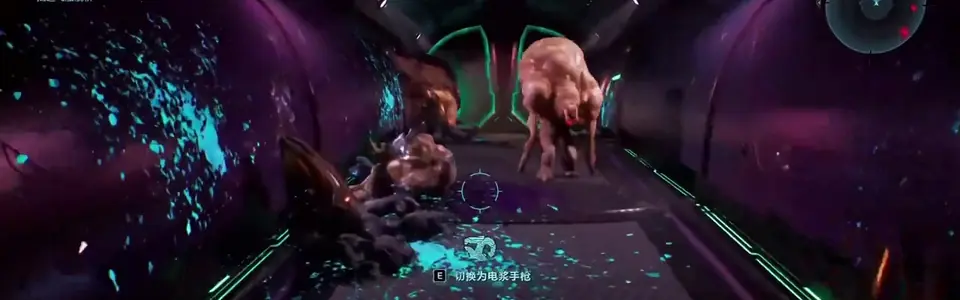 Open frame
Show approach frame
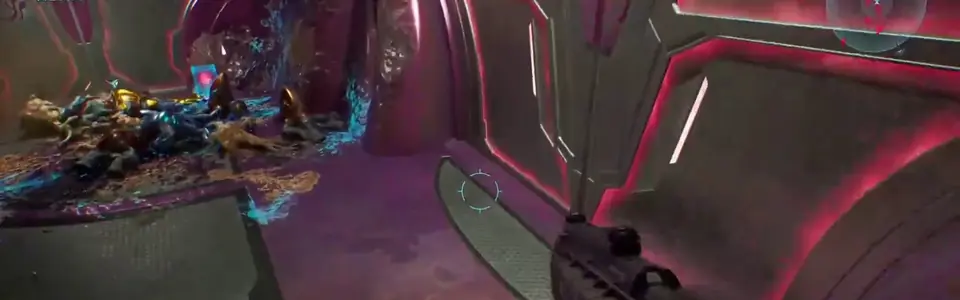
Terminal1 Terminal in this mission
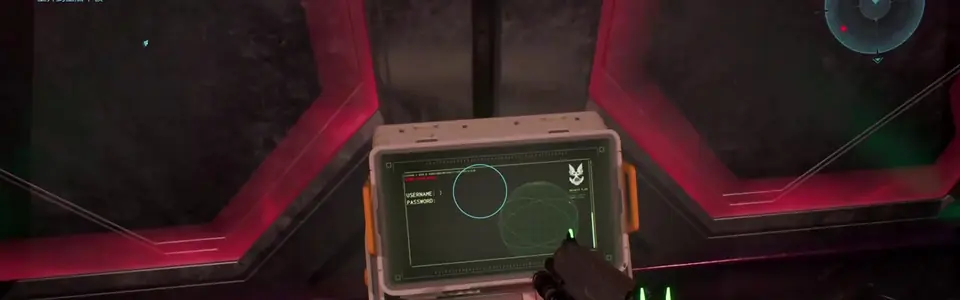
Consumed Terminal
Route
From the shuttle bay, turn left through the doors ahead and follow the winding descent. At the first fork, go right and check the left-hand recess beside the locked door.
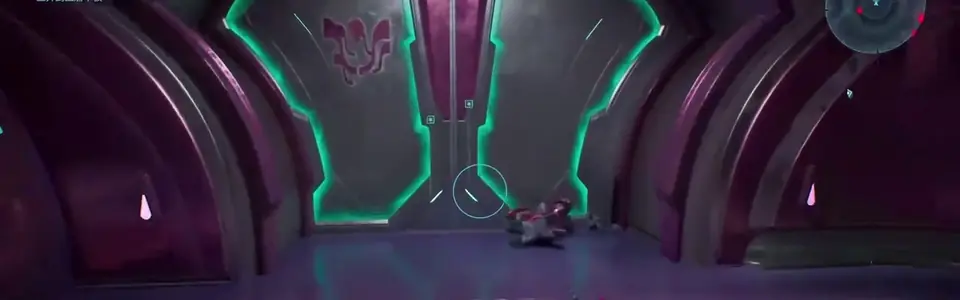 Open frame
Show approach frame
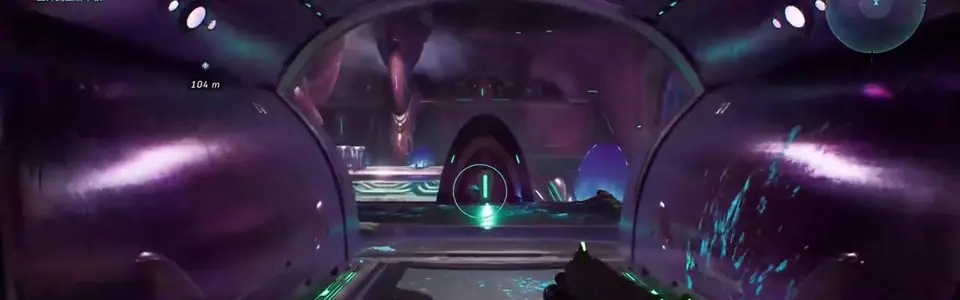
Skull3 of 3 hidden Skulls in this mission
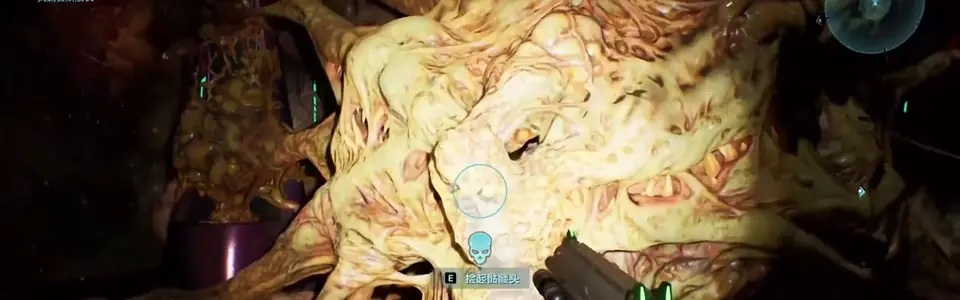
Piñata Skull
Route
After the Captain Keyes cutscene, repeatedly melee Keyes' body. Piñata appears on the floor in front of him after enough hits.
 Open frame
Show approach frame
Mission 10 | 3 Skulls + 1 Terminal
The Maw
Terminal1 Terminal in this mission
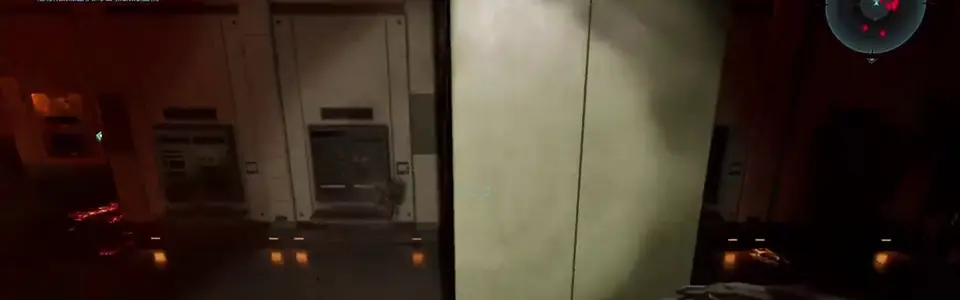
Arrival Terminal
Route
Early in the route back to the Autumn's bridge, enter the mess hall with rows of benches. Arrival is inside the small recess on the right side of the room.
Open frameShow approach frame
Skull1 of 3 hidden Skulls in this mission
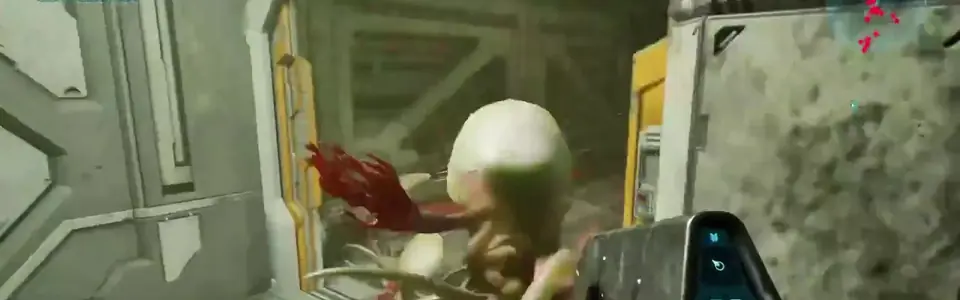
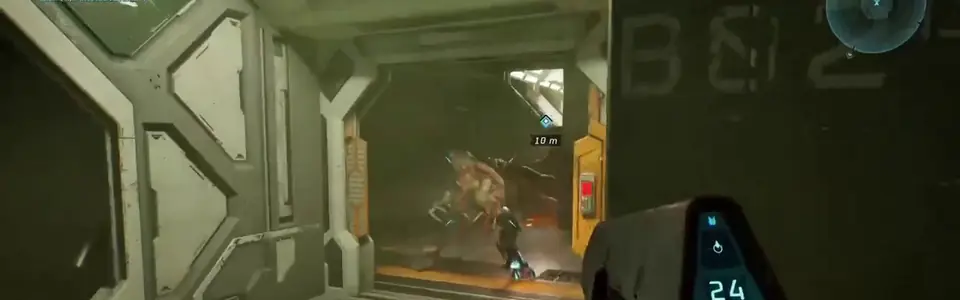
Stowed Reload Skull
Route
On the way to engineering, return to the original cryo room and clear the enemies. From the collapsed walkway in the fire-lit back-left corner, jump onto the beam against the rear wall.
 Open frame
Show approach frame
Skull2 of 3 hidden Skulls in this mission
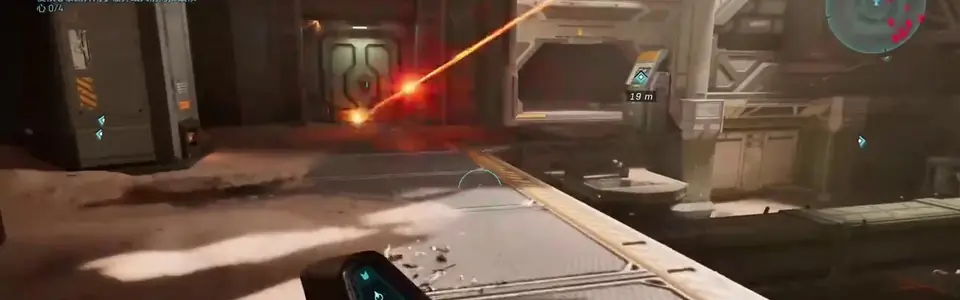
Boom Skull
Route
In engineering's four-core chamber, reach the second level at the back right. Beside the debris used to climb upward, drop left onto the narrow lower ledge and follow it into the corner.
 Open frame
Show approach frame
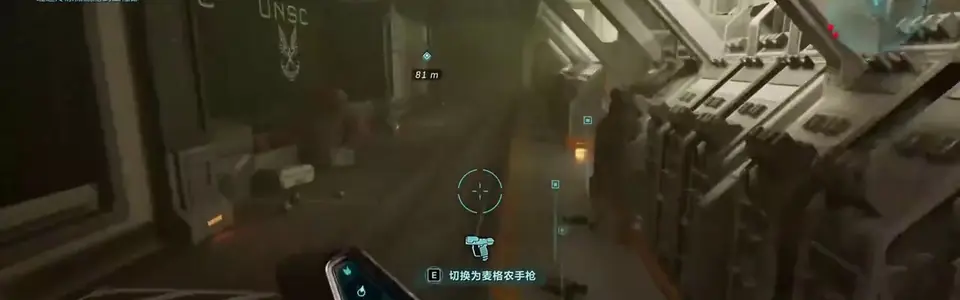
Skull3 of 3 hidden Skulls in this mission
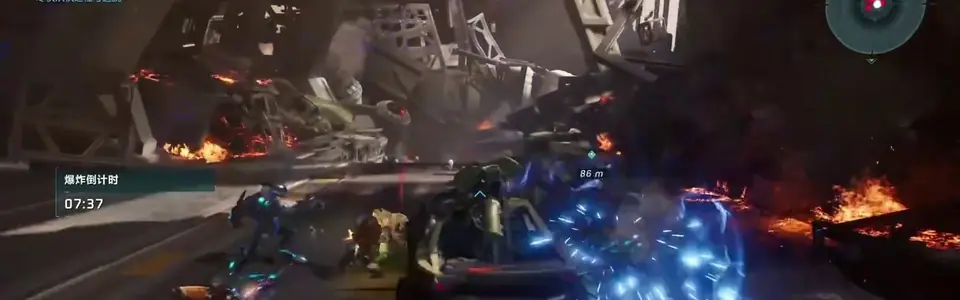
Thunderstorm Skull
Route
During the final Warthog escape, pass the first shortcut tunnel along the inner wall and enter the second one. The skull is on the right about halfway through.
 Open frame
Show approach frame
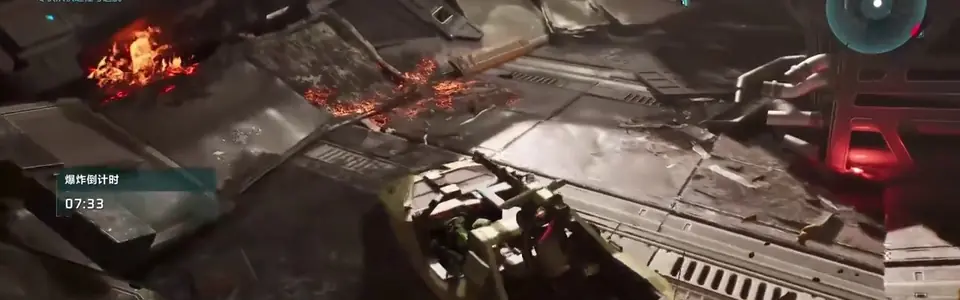
Mission 11 | 3 Skulls + 1 Terminal
Boarding Action
Skull1 of 3 hidden Skulls in this mission
Malfunction Skull
Route
After defeating the two Hunters, take the descending path opposite Johnson instead of following him uphill. Spiral down, cross through the unlocked bay doors, and check the right walkway in the next room.
Open frameShow approach frame
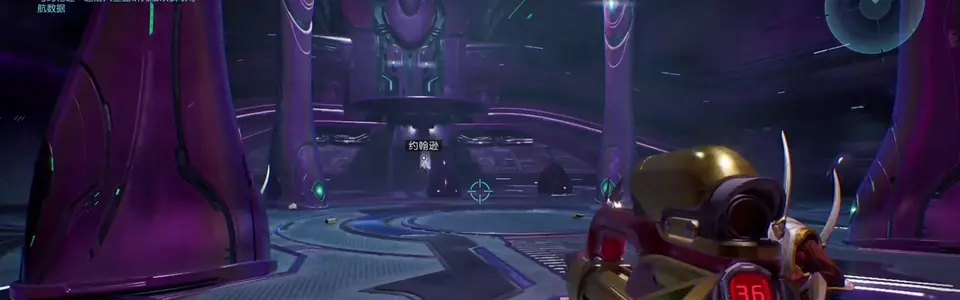
Skull2 of 3 hidden Skulls in this mission
Johnny Ammo Seed Skull
Route
After clearing the sandy Elite training room, use the upper doors above your original entrance instead of meeting Johnson at the tractor beam. Follow the route back onto the upper platform and defeat the new Elites; the skull is on the curved walkway.
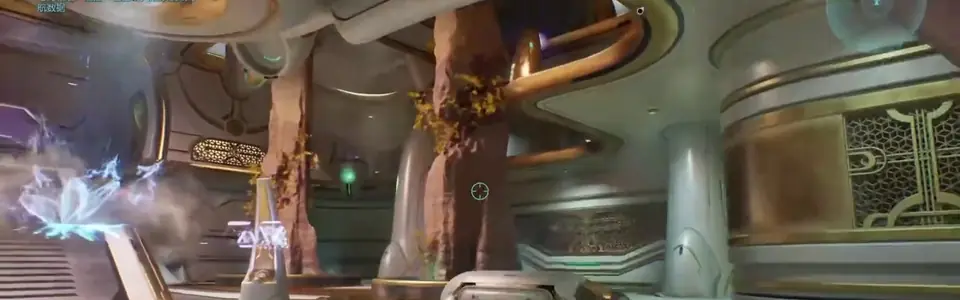 Open frame
Show approach frame
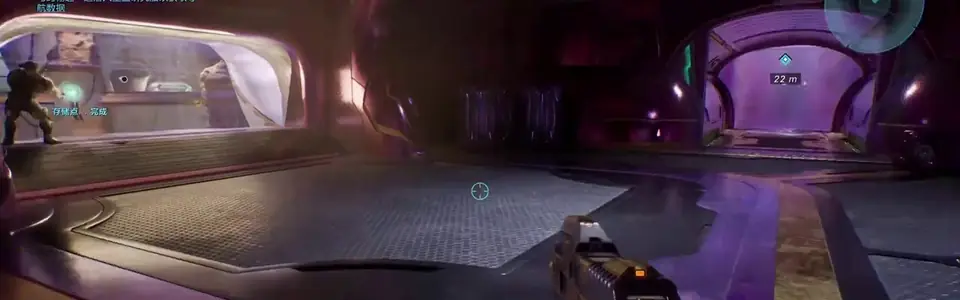
Skull3 of 3 hidden Skulls in this mission
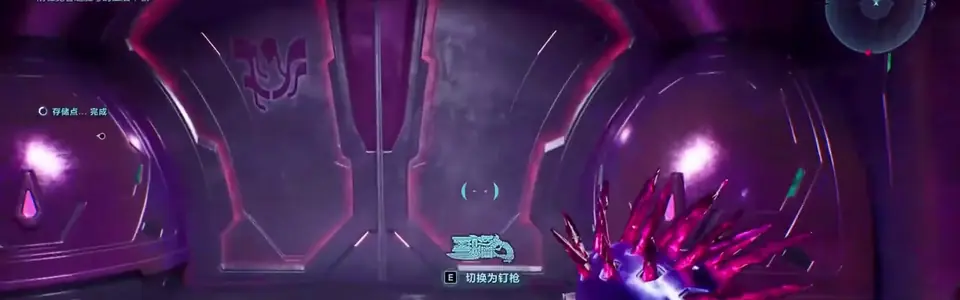
Leadhead Skull
Route
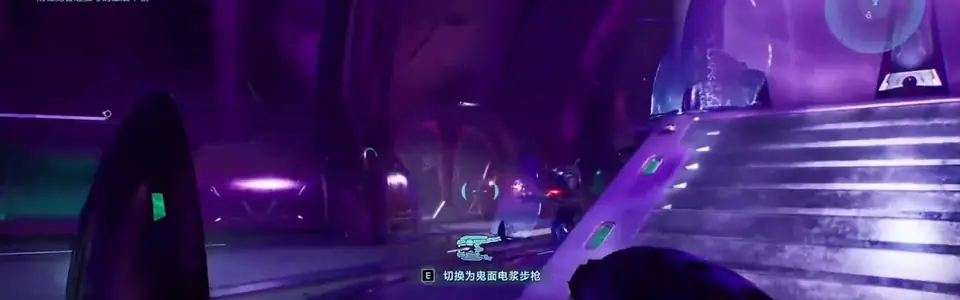
Near the end, clear every wave in the room with the tall tractor beam. Before riding the beam, enter the hallway behind and left of its platform, then climb the short slope to the dead end.
 Open frame
Show approach frame
Terminal1 Terminal in this mission
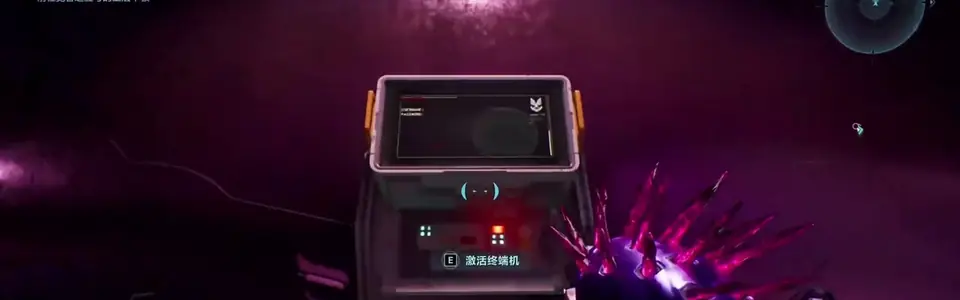
The Path Terminal
Route
After collecting Leadhead, ride the tall tractor beam upward. Turn around at the top, enter the open blue doors behind and to the right, and check the wall immediately on the right.
 Open frame
Show approach frame
Mission 12 | 3 Skulls + 1 Terminal
The Most Dangerous Game
Skull1 of 3 hidden Skulls in this mission
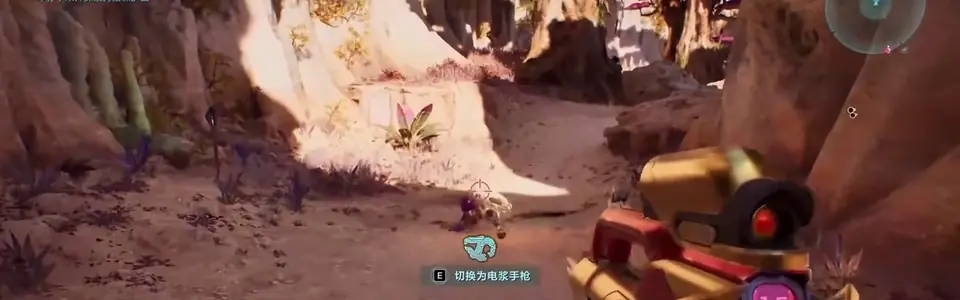
Recession Skull
Route
At the prison entrance with the long bridge and Wraith, shoot the explosive canister inside each flaming brazier beside the locked door. The door opens to reveal Recession.
Open frameShow approach frame
Terminal1 Terminal in this mission
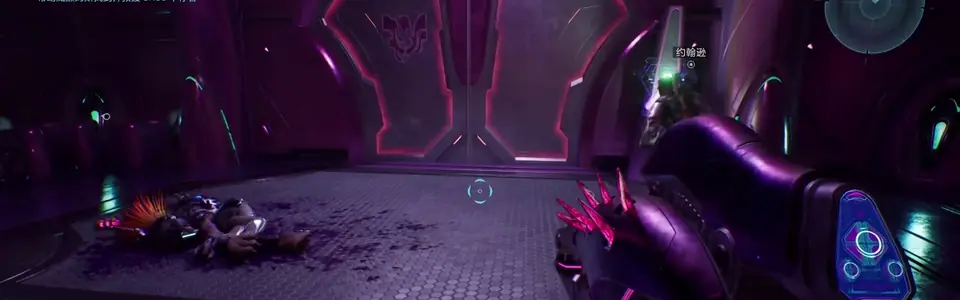
Penitent Report Terminal
Route
While freeing prisoners, reach the observation room above the holding pods. Take the door on the right into the small storage room; Penitent Report is centered on the raised floor.
 Open frame
Show approach frame
Skull2 of 3 hidden Skulls in this mission
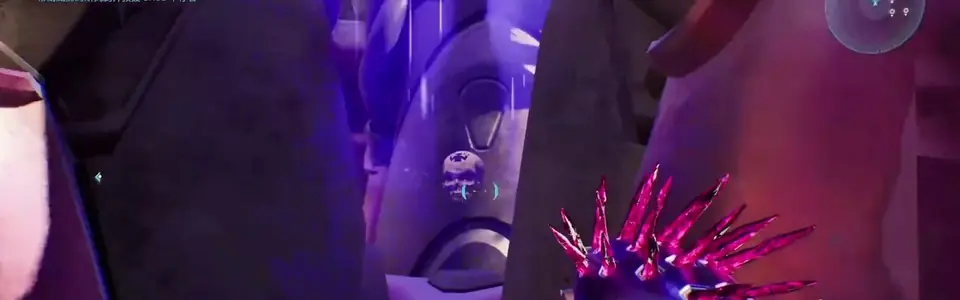
Temperamental Skull
Route
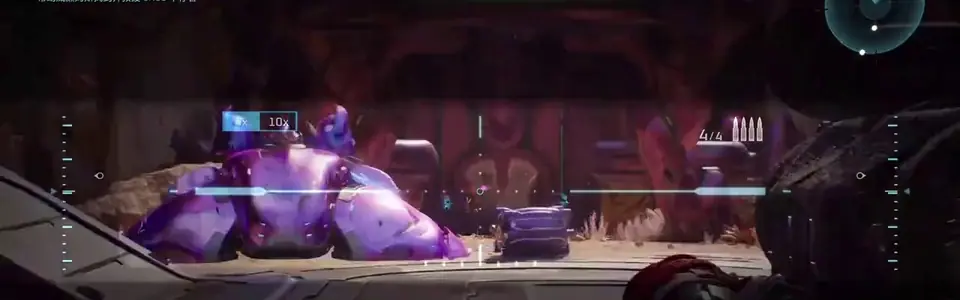
During one run, shoot the gold Elite with purple armor and an energy sword in all three appearances: before the prison, at the next arena entrance, and outside after leaving the prison. Clear the last arena to spawn the skull inside the purple pylon on the high ground.
 Open frame
Show approach frame
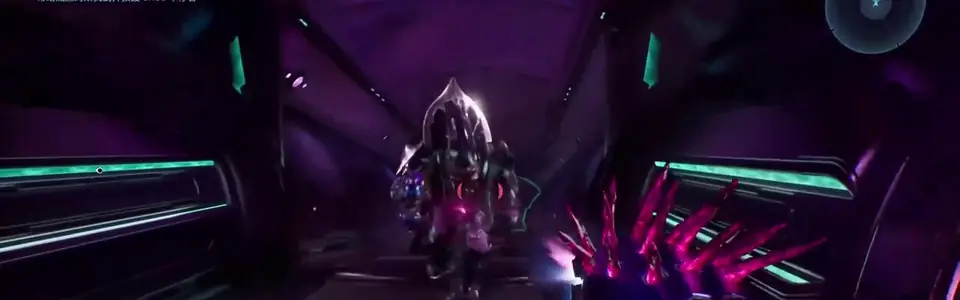
Skull3 of 3 hidden Skulls in this mission
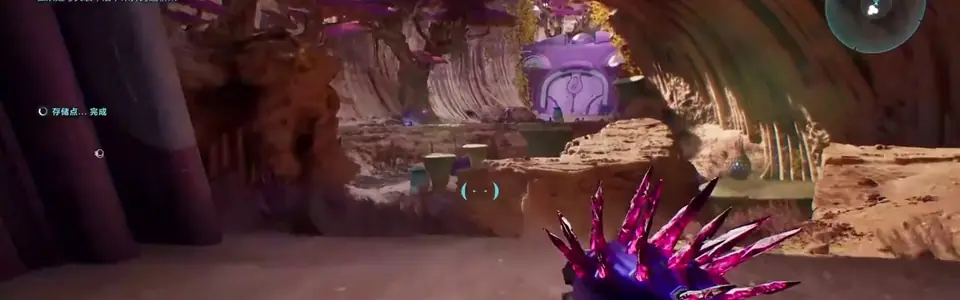
Ghost Skull
Route
After powering the two bridges and crossing the short cave, clear the arena beyond. From the entry gate, grenade-jump or use a co-op partner to reach the left ledge, then climb into the brazier on the rear side of the gate.
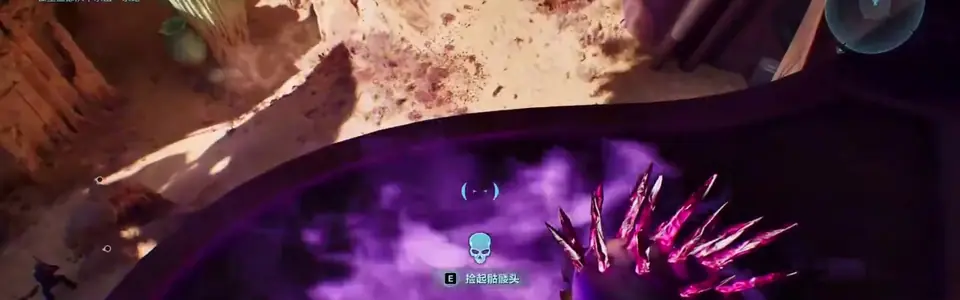 Open frame
Show approach frame
Mission 13 | 3 Skulls + 1 Terminal
Heavy Burden
Skull1 of 3 hidden Skulls in this mission
Eye Patch Skull
Route
While crossing the suspended route to the bridge, enter the open door before the main crossing. Follow the higher walkway to the far end and check the narrow ledge right of the locked door.
Open frameShow approach frame
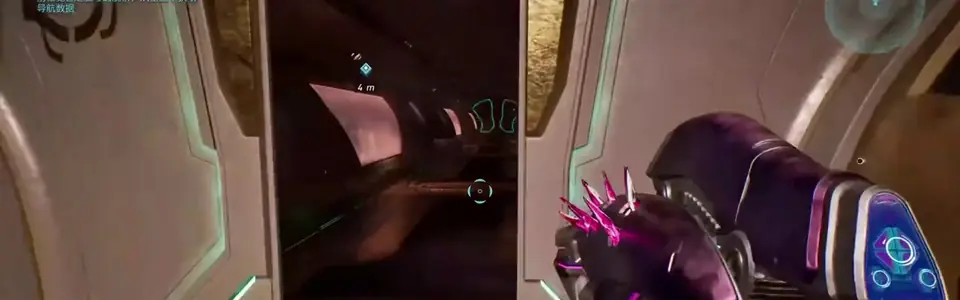
Terminal1 Terminal in this mission
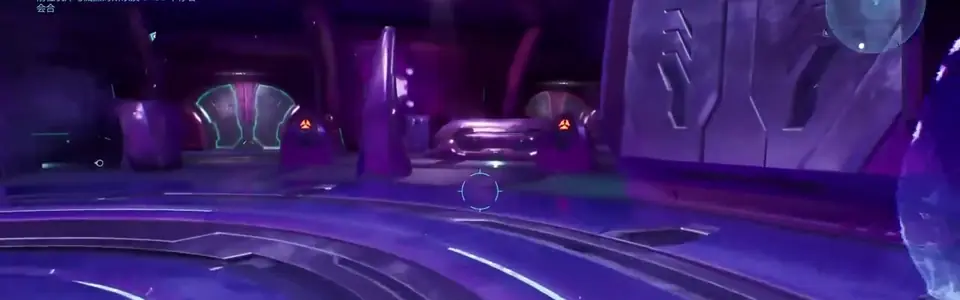
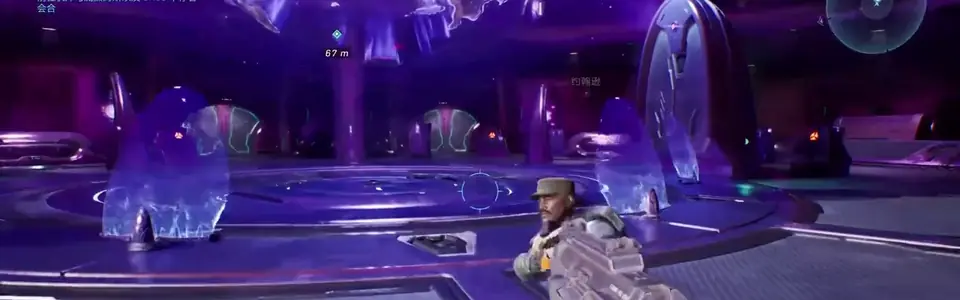
Harmonious Clarity Terminal
Route
After the bridge fight with two Hunters, ignore Johnson's upper exit and take either unlocked ground-floor door. Continue through the armory to the rear room and look behind the weapon pods on the left.
 Open frame
Show approach frame
Skull2 of 3 hidden Skulls in this mission
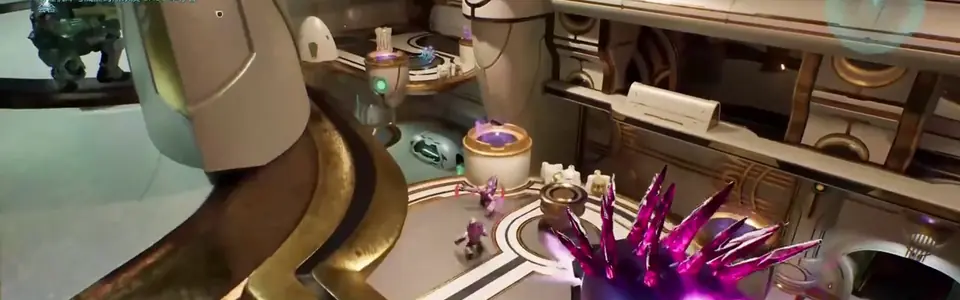
Grunt Birthday Party Skull
Route
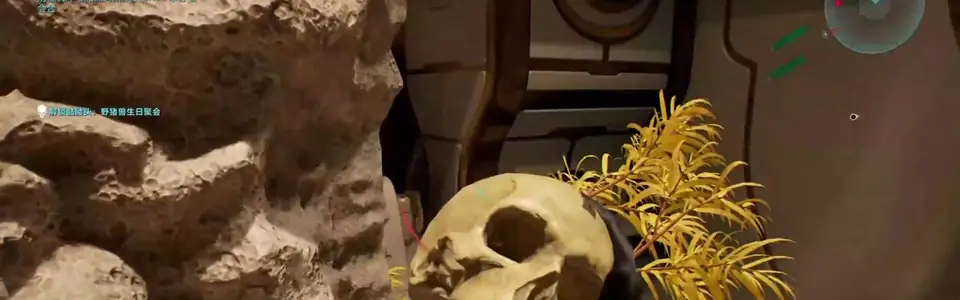
In the multi-level white-and-gold chamber, locate the tall stone spire covered in yellow foliage. Jump from the nearby round platform to the top of the spire.
 Open frame
Show approach frame
Skull3 of 3 hidden Skulls in this mission
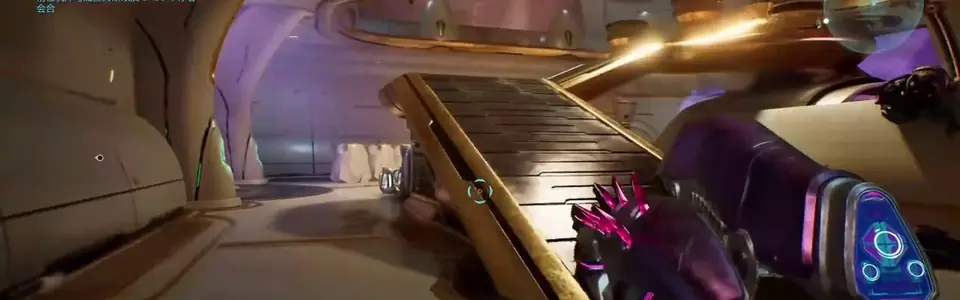
Efficient Skull
Route
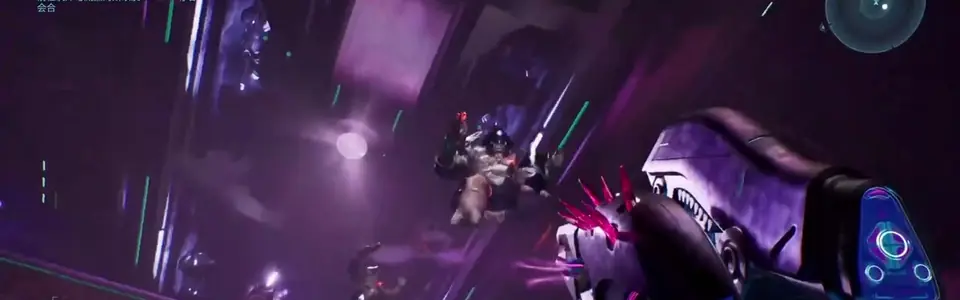
After restoring power to the moving transport, watch for the encounter with platforms on both sides. Sprint-jump to the left platform and rush to its back-right corner before the out-of-bounds timer expires.
 Open frame
Show approach frame
Verification desk
Routes checked against the released game.
Names and Skull effects follow the Halo Waypoint Campaign Remix announcement. Location wording was cross-checked against IGN, PowerPyx, PC Gamer, and Push Square, then rewritten around the landmarks visible in the supplied reference walkthrough.
The cleaned frames are cropped to the in-game view; source attribution is retained for the reference footage.
Frequently asked questions
How many Skulls are in Halo: Campaign Evolved?
There are 42 total Skulls: 39 hidden pickups and three Campaign Remix Skulls that unlock after collecting any three hidden Skulls.
How many Terminals are there?
There is one Terminal in each of the 13 missions, for 13 Terminals total.
Do I need to collect every Skull in one playthrough?
No. Use mission select and the checklist on this page to clean up missing locations. Reach a reliable checkpoint before leaving a mission.
Can I use this guide in co-op?
Yes. The route notes identify landmarks and the checklist is stored in your browser. The fireteam leader's campaign state controls the available mission and collectible context.