Mission 13 collectibles | Updated August 1, 2026
Heavy Burden Skulls & Terminal
Use this focused route for all 4 collectible locations in Heavy Burden: 3 hidden Skulls and the Harmonious Clarity Terminal.
- Mission
- 13 Heavy Burden
- Skulls
- 3 Eye Patch, Grunt Birthday Party, Efficient
- Terminal
- 1 Harmonious Clarity
- Checklist
- 4 Saved on this device
- First stop
- Eye Patch Skull
- Last stop
- Efficient Skull
- Route style
- Interior detour / Terminal scan / Traversal
- Most careful pickup
- Grunt Birthday Party - Moderate
Pickup order
Follow these four stops in mission flow.
Open a stop to jump straight to its route, image, and checklist control.
Visual route atlas
Match each stop by sight.
Preview the route landmarks before opening each detailed pickup card.
Walkthrough timeline
Four stops, image first.
A compact walkthrough lane for players who want the next landmark before the full card.
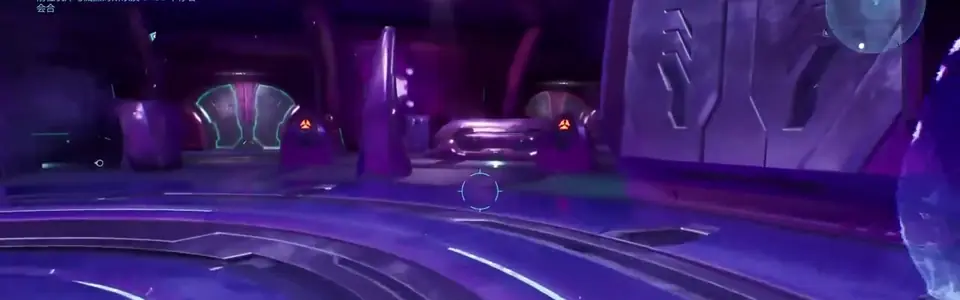
 Step 01 | Interior detour | QuickEye Patch SkullWhile crossing the suspended route to the bridge, enter the open door before the main crossing. Follow the higher walkway to the far end and check the narrow ledge right of the locked door.
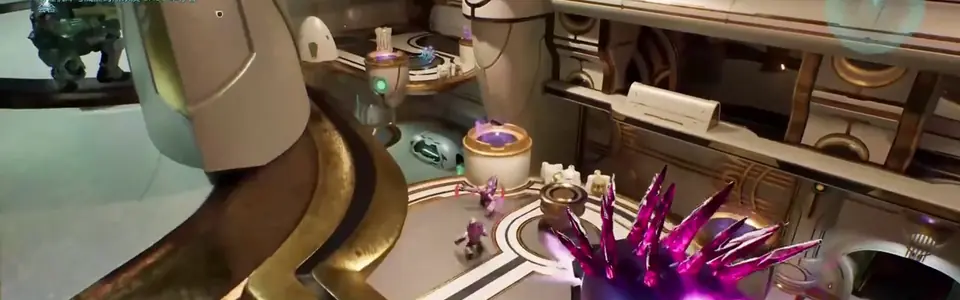
 Step 02 | Terminal scan | QuickHarmonious Clarity TerminalAfter the bridge fight with two Hunters, ignore Johnson's upper exit and take either unlocked ground-floor door. Continue through the armory to the rear room and look behind the weapon pods on the left.
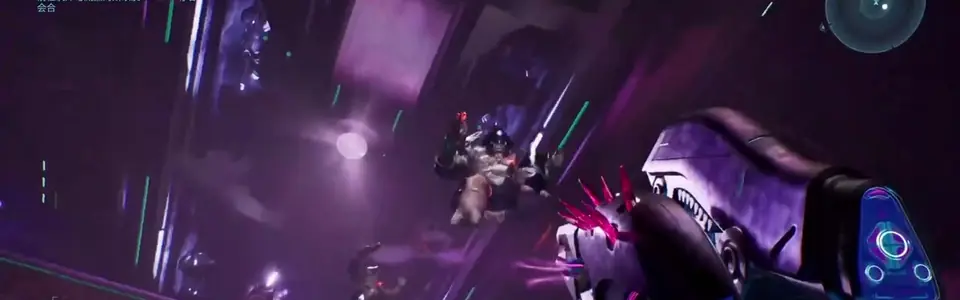
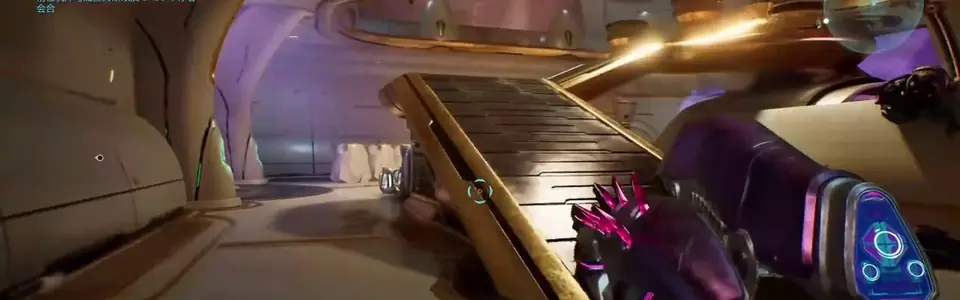
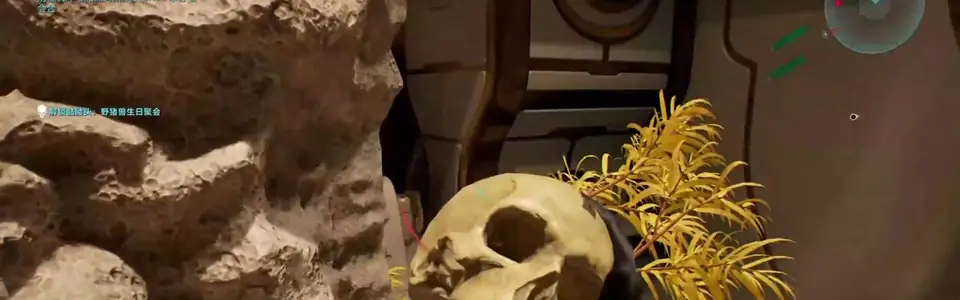
 Step 03 | Traversal | ModerateGrunt Birthday Party SkullIn the multi-level white-and-gold chamber, locate the tall stone spire covered in yellow foliage. Jump from the nearby round platform to the top of the spire.
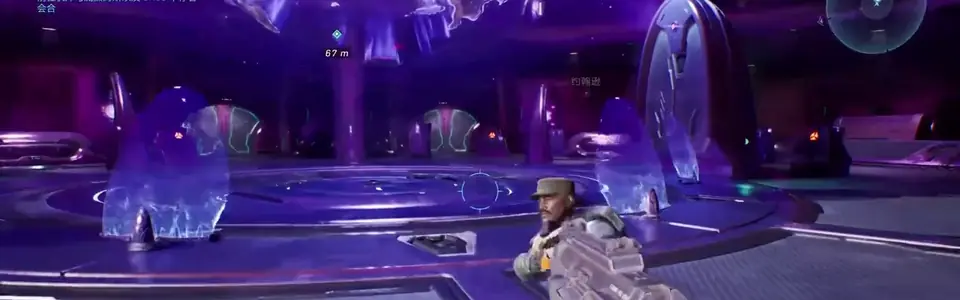
 Step 04 | Traversal | ModerateEfficient SkullAfter restoring power to the moving transport, watch for the encounter with platforms on both sides. Sprint-jump to the left platform and rush to its back-right corner before the out-of-bounds timer expires.
Quick table
Mission collectible table
Scan this mission's names, route types, and effects before following the image route.
| Collectible | Mission | Route type | Care | Effect / note |
|---|---|---|---|---|
| Eye PatchSkull | 13 - Heavy Burden | Interior detour | Quick | Auto-aim is disabled for every weapon. |
| Harmonious ClarityTerminal | 13 - Heavy Burden | Terminal scan | Quick | Lore terminal |
| Grunt Birthday PartySkull | 13 - Heavy Burden | Traversal | Moderate | Grunt headshots trigger a celebration. |
| EfficientSkull | 13 - Heavy Burden | Traversal | Moderate | Enemies killed while you are at full health drop more ammo. |
Mission 13 | 3 Skulls + 1 Terminal
Heavy Burden collectible route
Skull1 of 3 hidden Skulls in this mission
Eye Patch Skull
Route
While crossing the suspended route to the bridge, enter the open door before the main crossing. Follow the higher walkway to the far end and check the narrow ledge right of the locked door.
Open frameShow approach frame

Terminal1 Terminal in this mission
Harmonious Clarity Terminal
Route
After the bridge fight with two Hunters, ignore Johnson's upper exit and take either unlocked ground-floor door. Continue through the armory to the rear room and look behind the weapon pods on the left.
Open frameShow approach frame
Skull2 of 3 hidden Skulls in this mission
Grunt Birthday Party Skull
Route
In the multi-level white-and-gold chamber, locate the tall stone spire covered in yellow foliage. Jump from the nearby round platform to the top of the spire.
Open frameShow approach frame
Skull3 of 3 hidden Skulls in this mission
Efficient Skull
Route
After restoring power to the moving transport, watch for the encounter with platforms on both sides. Sprint-jump to the left platform and rush to its back-right corner before the out-of-bounds timer expires.
Open frameShow approach frame
Cleanup plan
Before leaving the mission
Use this quick pass after the last pickup, especially in co-op or when you loaded from a rally point.
- Reach a checkpointAfter collecting a Skull or Terminal, continue until the next reliable checkpoint before quitting or changing platforms.
- Use mission selectMissed pickups can be cleaned up later. Open the mission route, jump to the nearest rally point when available, and follow only the remaining entries.
- Track by nameIf the game menu does not show a chapter-by-chapter tracker, compare the collectible names on this page with the names already unlocked in your profile.
- Confirm co-op creditIn co-op, have the progression owner lead the fireteam and verify the pickup registers before leaving the session.
Verification desk
Names, effects, and routes checked against released-game sources.
The mission route is independently rewritten around recognizable landmarks. Official Halo sources set the Skull names and effects; IGN, PowerPyx, PC Gamer, and Push Square provide additional route-order cross-checks.
Heavy Burden collectible questions
How many collectibles are in Heavy Burden?
Heavy Burden has 3 hidden Skulls and one Terminal, for 4 collectible locations on this page.
Can I return to Heavy Burden for missing collectibles?
Yes. Use mission select to revisit the mission, then reach a reliable checkpoint after collecting the missing item before leaving.
Do collectibles work in co-op?
Yes, but the fireteam leader controls the active mission state. Confirm the pickup registers before moving on.